Photo Editing

Hello, colorful people. Jewelry photography is the toughest job in the photography industry. If you have been in the photography field for a long time, you know how difficult it is to click a perfect jewelry picture where jewelry is perfectly the focus in every frame. If you are looking forward to building a career in jewelry photography (since this field got money), then some pro tips might be helpful to you. So, in today's blog, let's talk about how to photograph necklaces.
There might be plenty of reasons why you should try jewelry photography. Still, the most common reason is if you won a jewelry business then you should definitely try jewelry photography by yourself. It will help you to save money and invest it in a reasonable editing expert or company.
Or maybe you are a photographer yourself and want to update your skills by learning jewelry photography. Jewelry photography is not as easy as other photography. Also, photography techniques can vary from subject to subject. Especially if you are into product photography or photography for an e-commerce platform then are somewhat familiar with the variety of photography. Then you might also be familiar with jewelry photography. The versatility of jewelry photography is each piece of jewelry has its own way of photography.
What is the big deal about photographing a necklace? Grab a necklace, put bright lights on the necklace, get the brightest version for the necklace, and grab your camera, get on the setting of product photography which you normally do, and click it. Done! Grab the camera and let’s go, pack up. This is how it works right? Wrong. Jewelry photography is an art and the professional photographers of jewelry are magicians. Because jewelry photography like necklace jewelry is not an easy task. Why not? Let’s start talking about why jewelry photography like necklace jewelry is harder than you think it is…
Necklaces are so beautiful to look at. Most of the time the necklace includes very small stones like diamonds, pearls, etc. so most of the time we don’t even notice if a stone gets missing from a necklace. But digital cameras can capture every single spot and every single mistake. The camera holds the power to show you details that you might never notice with your bare eyes.
Yes, even the smudges. Scratches and smudges can be a deal breaker for the photographer as well as for the jewelry shop owner. Yet there are ways to fix them. You can hire a professional photo editor to fix that up for you. That way you can also do the photography on your own and take the jewelry photo retouching service from a professional retouching company.
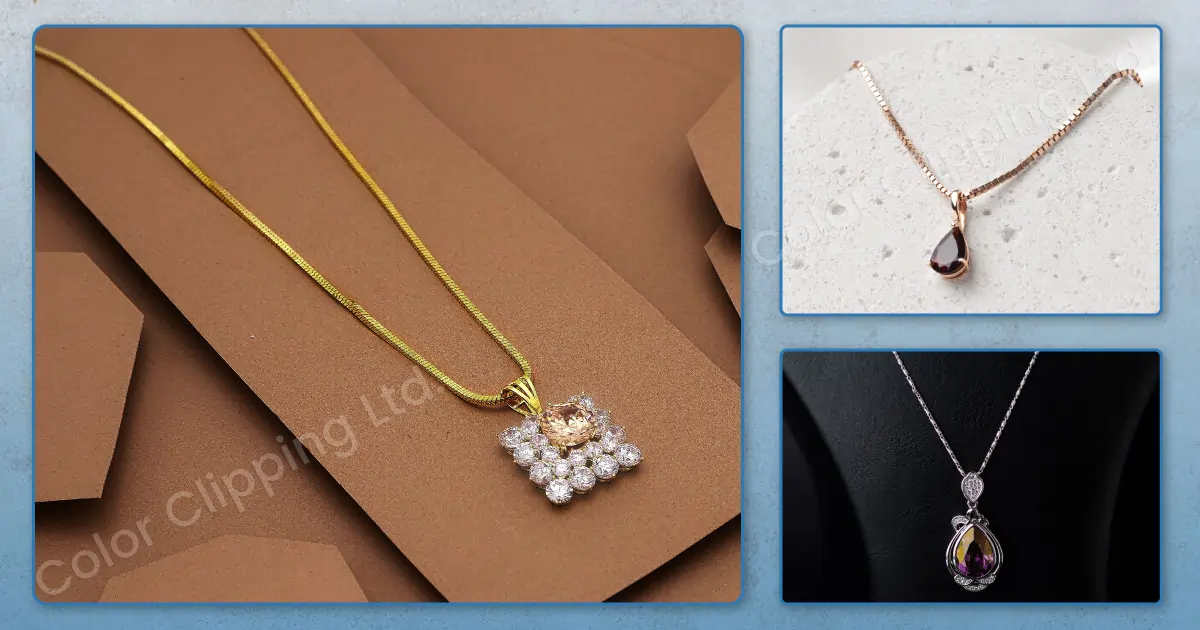
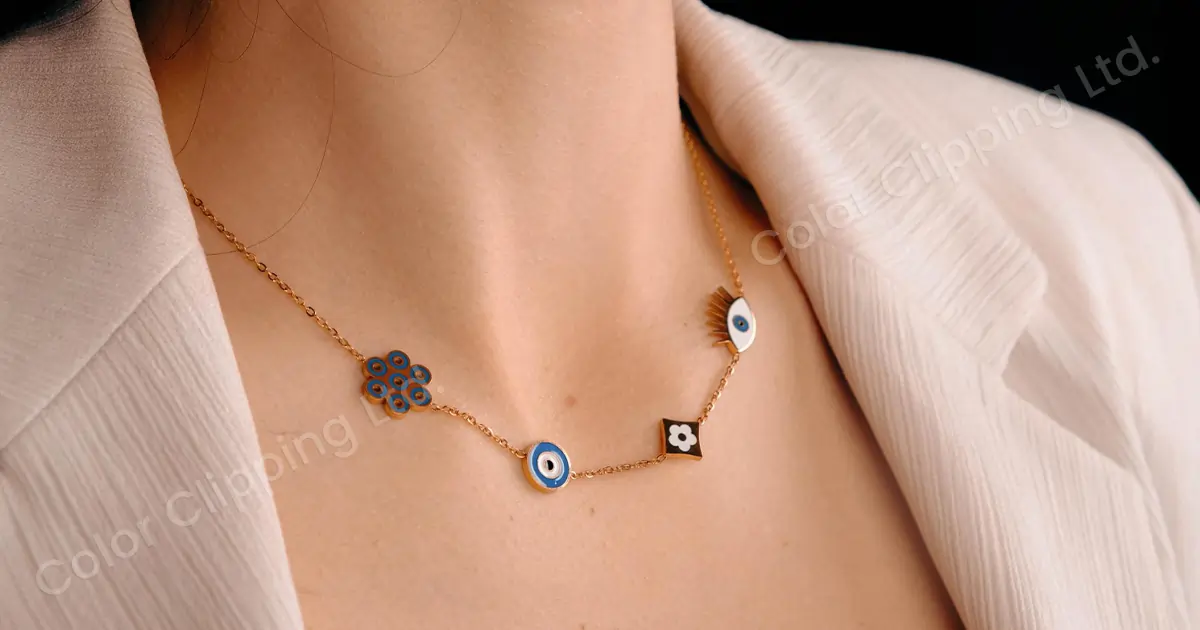
If you look for necklace pictures of necklaces in real life as well you will see they all are not the same. Some of them are large, some of them are very small, some of them have a glossy finish, some of them have a matt finish, some are tight necklace-like chokers and some are long hanging almost the size of a pendant. If you shoot each and every one of them with a single camera setting then obviously, they are not gonna work every time. What you have to do is to study the necklaces deeply and understand what the necklace requires. Does it need bright light? Or does it need soft light or it can shoot in natural light as well? You have to figure that out first. Next according to the place (set up) and the lights you have to set your camera as well. Camera settings are a big factor in jewelry photography. The reflection, the mattifying effects, and all are a bit of calculation. You have to do a lot of studying and practice on the camera settings to seek the skills of what setting will go with what kind of necklace.
I have already talked about the color wheel theory many times previously in my blogs, so if you are a regular reader then you will know what I’m talking about and if you don’t know then shortly, a color wheel will help you to understand the opposite colors of color and will also help you to understand the complementary colors of each other.
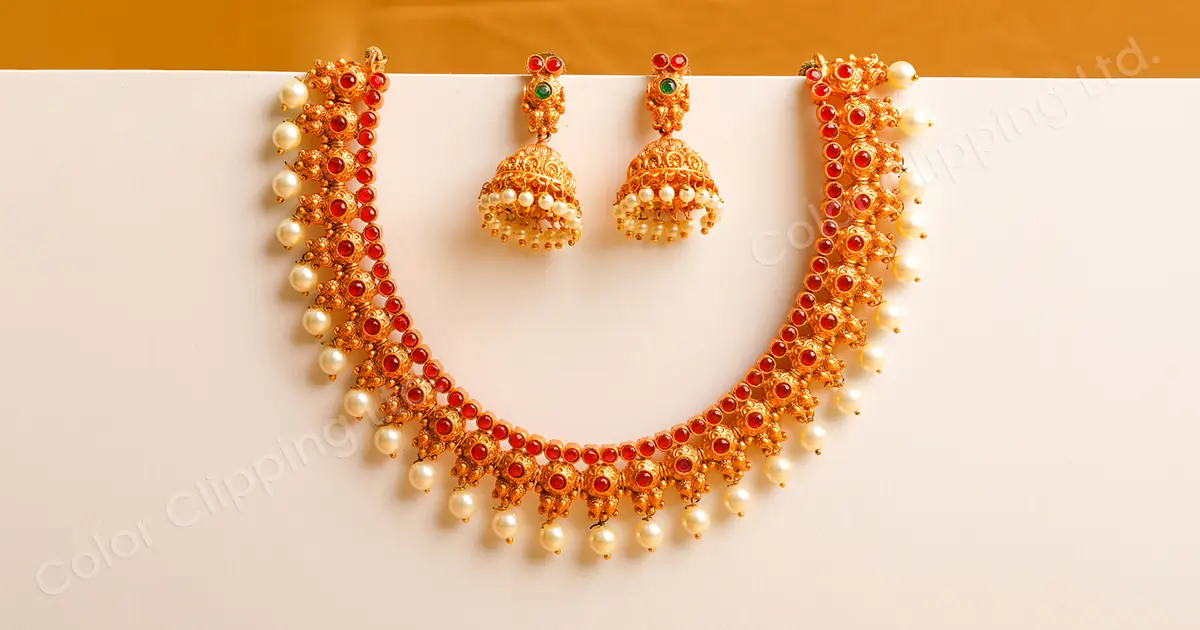
For example, suppose your necklace has beautiful maroon stones on it and you want to experiment with the colors of the background. You thought green was the opposite color of red. It would surely look good and bring the attention of viewers to the photo. Yeah, it will surely bring the attention of the audiences but I doubt that the attention will be for a good reason.
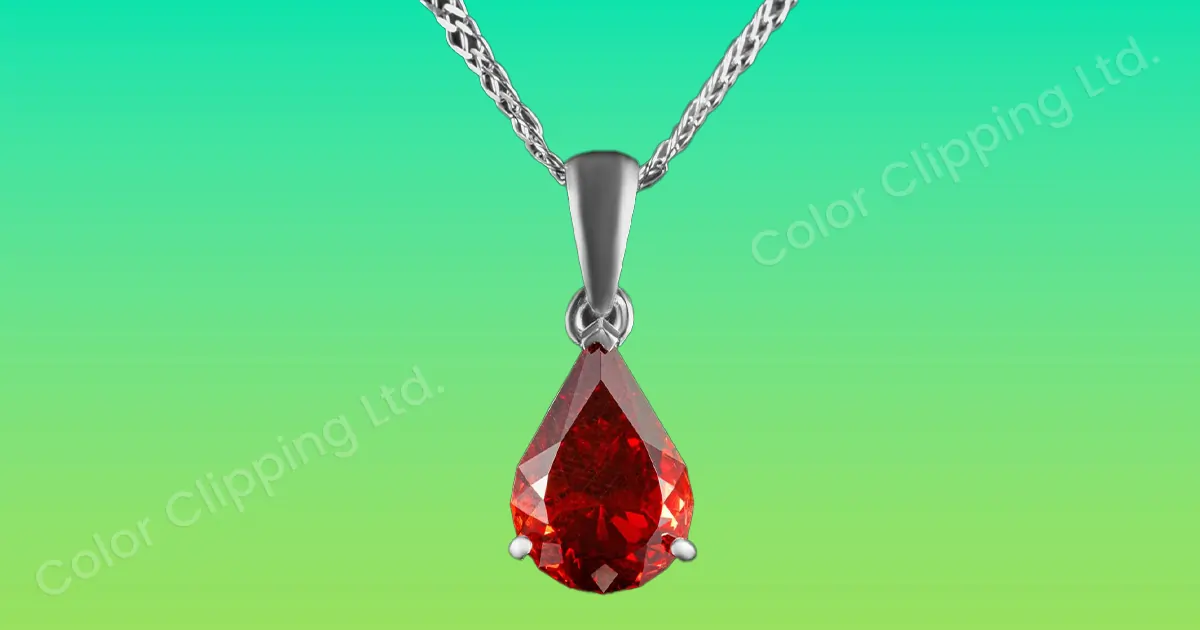
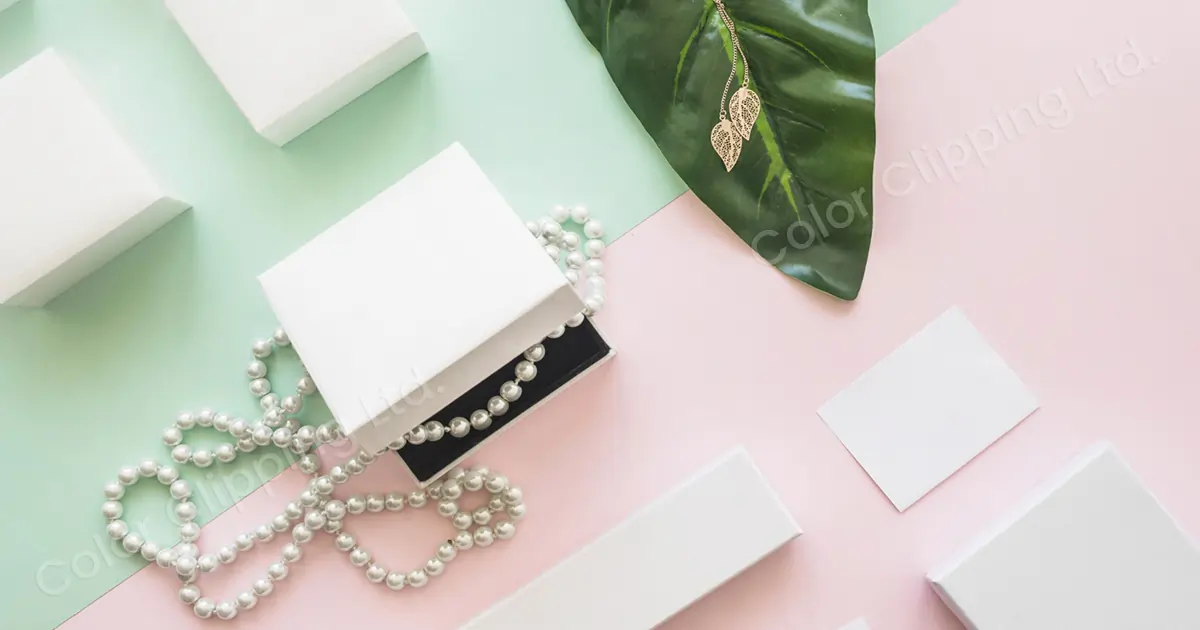
So, stay with the subtle colors, and bring the royalty into your pictures since you are working with necklaces, you have to bring up the royal vibes with the pictures. Specifically in this case, I would suggest not using any pattern in the background, and if you have to use any make sure they are not that loud to look at. Always ensure that you don’t distract your audience from the actual product with less attention needed to parts like background, props, and similar things. Your necklace should be in the spotlight rather than anything else.
Speaking of less attention-needed parts, the props will take the first place. Props are the only thing in a photoshoot that doesn’t need any kind of attention. A prop should be very soft in visuals which will speak for the necklace, not over the necklace. You will easily find necklace photos on the internet and some might look very addable to look at, just because you can’t tell which is the subject of the picture. Bold props are always a picture destroyer.
Necklaces and other jewelry have metals, stones, and various kinds of textures on their surface which makes it difficult to hold on to only one setting. The finishes of the surface make the product look enhanced. But if you can’t bring the exact texture then the game is over. And by the perfect texture, I meant to showcase the smooth and shiny surface as it is, as well as showcasing the rough and matt surface as it is. Also, diamonds and similar kinds of jewels will have some reflections on their surface. That’s why sometimes the reflection can look not so good. It can turn the bottle upside down.
The colors are very important factors here. If you think you are using a high-end, good-quality camera, so your images will be very accurate and capture the original colors as it is then sorry to disappoint you, you are so wrong about this. Even the most expensive digital cameras are not able to capture the exact color sometimes. Here we are talking about the golds and silvers and similar colors, which are even harder to get the exact color just by clicking a picture. The white balance can be very hard to get for many tones of color.
A very common mistake that is often made by photographers is not clicking enough photos, and not experimenting with the product enough. It leaves out the possibility of having good pictures and leaves the scene with uncountable possibilities. The lack of images limits the creativity of the editor as well. So, the lack of images is a backlash for the jewelry owners. Don’t leave the opportunity to catch the perfect shot.
Even though I’m writing this point at the end, this is the first option that can break the deal in the first place. If you think about it clearly you will understand that a photographer’s role is the main role here. You can’t get a suitable photo if you don’t take the photography part seriously or more like if you don’t get a good quality photo, the end won’t be up-to the point.
Yes, photo manipulation by photo editing and photo retouching is always the final work which ensures there are no mistakes left in the picture. Yet, you have to give a good quality picture to begin with otherwise it won’t stand out the way a person would want. And as I was repeating a lot, Jewelry needs special treatment compared to others. To ensure the quality of your photos you have to experiment with photos, cameras, and lights, and study hard on that.
If you have survived till here then definitely you are someone who is actually willing to do well in photography. Jewelry photography is a good part for professional photographers. And the best part is that the jewelry business is growing. Jewelry shops are growing but comparatively, jewelry photography is still a sector that can be explored way more than it has the opportunity. Let’s talk about some basic and can-be-easily-done pro tips on how to photograph necklaces that will help you to slowly move forward to the professional level of jewelry photography.
Jewelry is not a big-sized product to handle. It can be easily handled by anyone. So, preparing a setup for jewelry photography might not be so hard for anyone. It can be easily done in a corner of a room. Jewelry photography setup can easily be made. Most of the jewelry is made of shiny and reflective materials. So, it is pretty obvious that you will need a setup that can redeem those reflections at the same time and can stop the shine to distract the camera as well. It can be easily done with a perfect jewelry photography set.
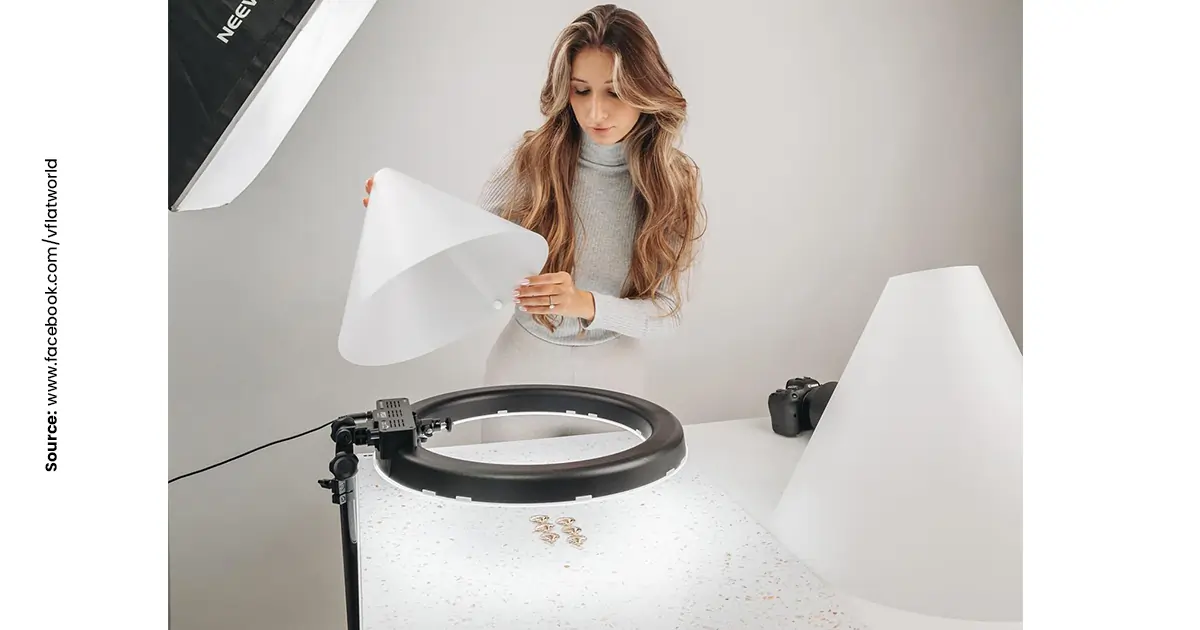
You don’t need much equipment to start the photography with a simple photography set-up. You can start with whatever you already have. You can use a big-sized cardboard box to use it as a setup. You can also take a white big fabric available in the house, like a white bed sheet, white thick curtains, white art paper, etc., and for the light source you can use tented lights or flashes for the shoot but the direct light or flash lights is a big “NO” for jewelry photography. So, what you can do is take a piece of white thin paper and cover the light’s part to dim the direct light and reflect it.
how to take pictures of necklaces with the perfect lighting? For jewelry photography try to avoid strong and harsh lights as much as possible. As we were talking before about the reflection and shiny stones. Heavy and harsh light can cause unwanted reflections from the jewelry piece which will ruin the entire photograph. It is good to choose soft lights. It is also okay if you don’t want to have any options for a dimmed light. You can always put a white thin paper to cover up the harsh lights and make the light seamless. Even better if you can manage a translum paper. Translum papers are used in photoshoots. Mostly in product and jewelry photography. It helps to soften the light and make it non-reflecting.
If you still have any problems finding a soft light or any problem dimming up the harsh lights then you can go for natural lights as well. Natural lights are a little tricky here. You have to make sure you're picking the right time for the photoshoot. Since the sun won’t show you a friendly face throughout the whole day, you have to pick a time that will suit your photoshoot theme. And what is the right time you ask… A time when the direct sunlight is not visible.
More clearly, the sun can attack you and push its fingers to your eyes and make you blind for a moment when it’s about 12 o'clock at noon. And also, able to make you fall in love and make you feel happy when it’s twilight or golden hour. Now you might be clear about what time to pick for the photoshoot. Shoot at the time when the sky is clear everything is still visible and the sunlight is not hitting directly into the face. And you will have a good light source to begin with.
We are talking about jewelry photography for sure. Specifically, necklaces type of jewelry. So, we don’t need to worry about other jewelry like earrings, rings, hand bands, bangles, bracelets, anklets, etc. We will focus on only necklaces and necklaces, kinds of jewelry like lockets, pendants, chokers, necklaces, etc.
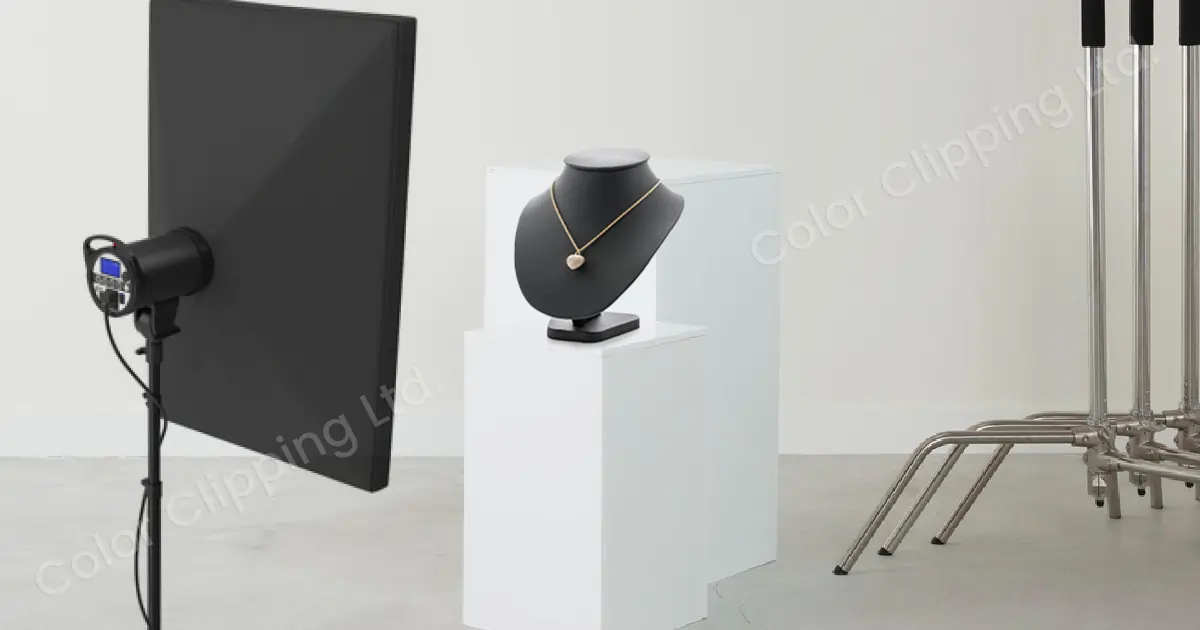
If you are working with a pendant then it’s easy. You just need to hang the pendant in a style where the pendant will give a suit illusion of hanging from someone’s neck. Get cardboard and make a hole in the board. Clip the chain on the two sides of the board. And if you are working with a choker or proper necklaces then you can use a necklace stand. Necklace stands are common for this type of photoshoot. Despite being a common style, it is not out of style. It still looks good for photoshoots. And also, you can always hire professional models for this photoshoot.
The camera settings are a big factor in any photography. The subject and the environment affect the aperture, shutter speed, and ISO. Camera settings for product photography and necklaces photography are very similar but not the same.
In the case of jewelry photography, choose a small aperture. Small aperture is the deal maker here. Yes, a deal maker. You might wonder why we would choose a small aperture when small apertures capture very small portions in focus. Hear me out. You need to take multiple pictures in a small aperture and blend them into one picture in the photo editing process. Because big apertures will take the whole image clearly but won’t be able to meet the focus as clearly as you will get in small focus.
The shutter speed needs to be fast here. Since we want the image to be still and with no room for blurriness that’s why faster shutter speed is appreciated. You can set the shutter speed to F14 keeping the camera setting in manual mode.
Also keeping the camera setting in manual mode is necessary. Otherwise, you can’t take pictures of anything according to your setting. You will be taking pictures in the default mood of your camera. So, make sure you are controlling the camera setting on your own and leave no doubt.
Again, the photography game is all about the focus and clear image. Macro lenses are important for showcasing realistic photos. If you are willing to capture photos that are ready to convince the audience to buy your product then you should not leave a macro lens for your camera. Macro lenses can depend on your camera model. According to your camera model, you should buy a macro lens. Again, if you are new to the jewelry photography field and want to explore this category then you can skip this part for now. But if you are someone who is ready to do photography seriously then there is no place to skip this part. Macro lenses will allow you to have 0.5 representation of the subject that you took for a photoshoot.
You can also go for an extension tube as an alternative to macro lenses. It shortens the focus distance and makes the subject seem closer.
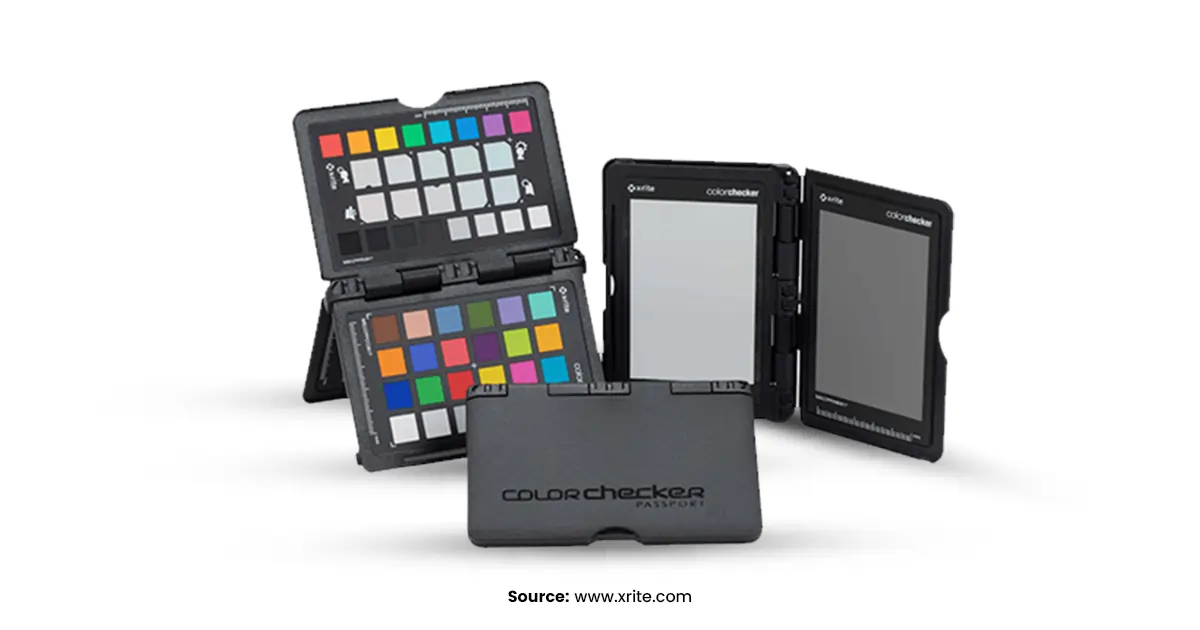
We have already talked about the white balance in photography previously. Even high-quality digital cameras lack the perfect capture of white balance. To maintain the white balance, you have to grab a gray card. X-rite cards will be even better. How do these cards work? Or how do you get the white balance perfect? Lemme tell you how. Garb your card and camera. After setting the camera and doing the setup for your photoshoot, pick up the camera and click a picture of the card. And then click the picture of the jewelry. This will help the photo editors to make the white balance perfect.
Experimenting with colors is something that always keeps you up to date. To experiment with colors, you can try complementary colors in the background which enhances the jewelry color and gives it an aesthetic and royal look. Complementary colors will depend on the metal color of the jewel and the stone colors of the jewelry. For example, if the jewel is made of silver metal and has warm-toned stones like red, orange, or any similar color then it would be a bad idea to go for a bold pattern or green background. You can go for plain red fabrics or backgrounds that you make and focus on the necklace only. Also, you can take a black or white background to give a subtle and complementary look to the jewelry.
There you have some basic necklace photography tips that might help you to understand where to start from and where to keep going. Now since you have the idea of necklace photography, start your journey now! You will soon grab all your skills and make the photograph look professionally taken.
So, done with photography? Real hard work, right? So, it’s time to serve your client with your effort and skills. What are you gonna do? Click the pictures, grab the bundle of photos and hand them over to the clients. I wish it could be that easy to do. Or easy enough to serve photography to the clients. Unfortunately, it isn’t that much easy.
After the photoshoot, the game of photo manipulation starts where the flaws of your picture are taken and removed from the picture. It is the process where the pictures are edited and retouched to make them eye-catching as well as flawless. The photo editing is done to make the photos post-ready. If you are new in this field or a beginner photographer then you can hire professional editors to do the editing. Since jewelry editing is also not a piece of cake, you can’t rely on any editor. You have to make sure the editors are experts, who know what they are doing. In my suggestion, you should really try Color Clipping. Color Clipping has been leading the photo editing and retouching market for more than 10 years. They are the experts and know what works best for what kind of photography. And the cherry on top is they also have a dedicated jewelry team on their own. So, what will go wrong? Try Color Clipping now.

Hello, it's Anika, Content Executive from Color Clipping Ltd with a devotion to contributing my skills and knowledge more simply. Keep learning and growing with us.
Deowan Shimul
Since 2010, Deowan Shimul has been refining the art of jewelry retouching, combining precision with advanced technology. In 2017, he expanded his expertise into commercial product photography and now leads a team of 120 professionals. Together, they produce high-quality visual solutions that help brands grow, streamline workflows, and achieve real results for clients worldwide.

Chief Production Officer