How to Make A Watermark on Photoshop (Including Removing Guide)

Photo Editing Image
Photo Editing Nov 3, 2023

Read | Loved by: 3476

How to Make A Watermark on Photoshop

Getting art stolen by someone is the worst nightmare of an artist. Photographers are not any exception. Imagine you have worked so hard to take a picture and someone stole it. You will feel bad, right? That can only be prevented by a transparent watermark.

Now, if you are not a photographer then this might not seem like a lot of hard work. But let me explain. You love clicking pictures and all you want to become is a professional photographer. You have saved all of your pocket money to buy a good-quality camera. You bought a tripod, lens, and other necessary stuff that are important for a photoshoot. You waited for 2 days for that perfect rainbow effect on the sky at dawn. And finally, you got the chance and clicked. You become happy and quite proud of yourself. Also, you’re quite sure no one has ever captured the beauty of the place in that exact time zone you captured.

Now, you wanted to show the picture to your friends, so you posted it on Facebook. And on the next day, you see someone else has stolen your picture and labeled it as their hard work. So how would it feel? Exactly. That’s why you need to have a transparent watermark or logo at least and also need to know how to make a watermark in Photoshop.

How to Make a Watermark on Photoshop for Both Text and Logo in Simple Ways

Watermarks become way more important when it comes to product photography. You will see these days that people use one product photo on many different pages and even brands. Which is able to lead the customers to be confused about the real author of the picture. Product photos need the service of having a watermark on them.

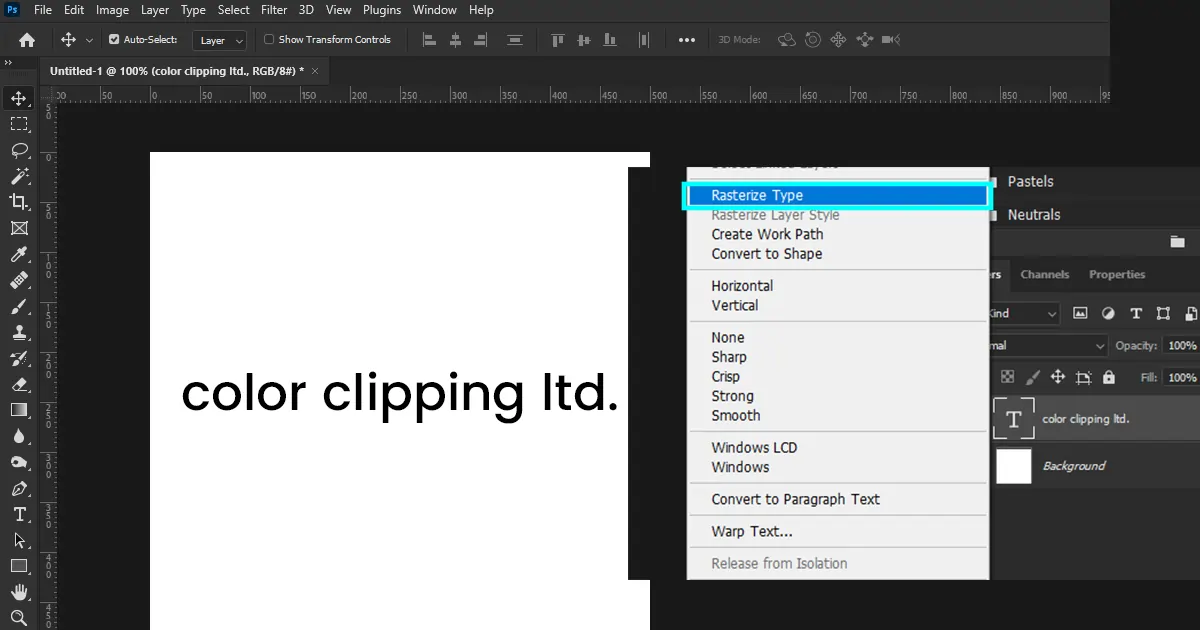
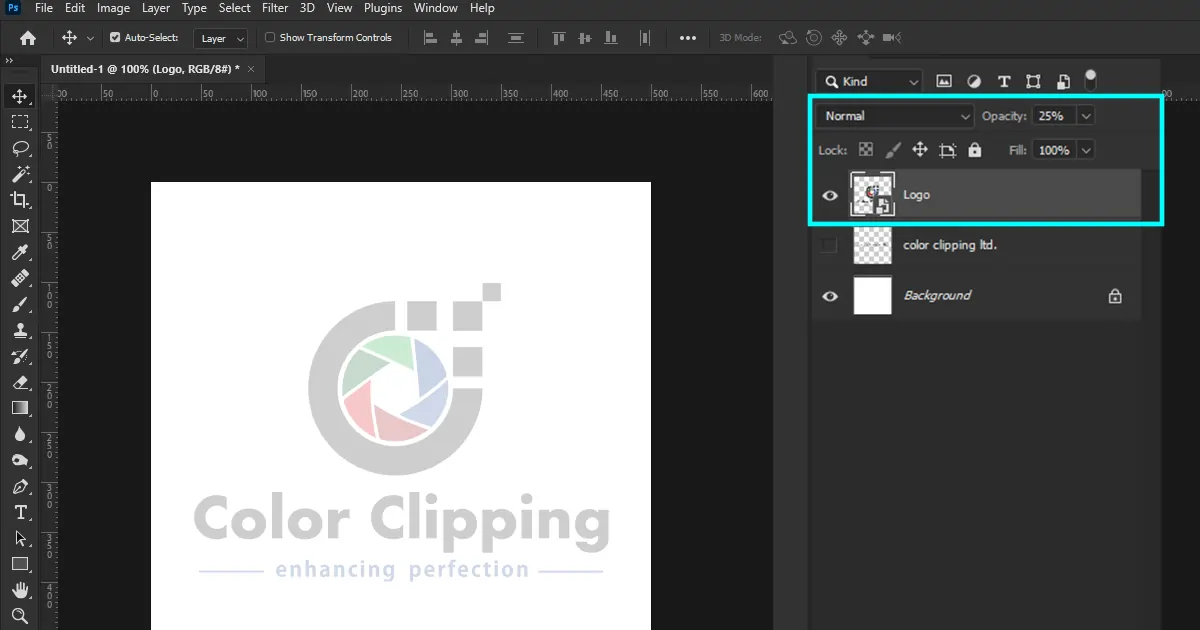
Before the main tutorial, there are some project settings that need to be done. So, go ahead and open Photoshop. 1st before starting the main tutorial focus on the project. Open Photoshop on your PC. Now go to the File and select New to create a new document. Now on the settings choose 500 pixels for both Width and Height, and choose Resolution 300. Color mode to RGB Color and 8-bit, and of course change the background content to transparent and now select Create. After creating the project your work starts from here.

If you want a text watermark then…

  1. Click on the Text icon (you will find it on the left toolbar and the icon will show ‘T’ on it.)
  2. Change the font according to your preference. Here I’m taking ‘SK Pro Display’. You can also change the font size if you want. Here let’s keep the size to 12pt rather than 100pt. Because 100pt can get really big for a watermark. You can make all of these changes from the top toolbar.
    How to Make a Watermark on PS -1
  3. Now, write the name of the word you choose for your watermark.
  4. Select the Anchor icon, and drag the text into the middle of the box.
  5. Now, right-click on that layer and select ‘Rasterize Type’.
    How to Make a Watermark on PS -1
  6. Click on the text and move to adjust the size of the text with the help of your cursor. This was the text. But if you also want the logo with the text then…
  7. Click your logo file and drag it over your text opened in Photoshop. Make sure you are using a PNG file.
  8. On the layer drag down your logo layer from the text layer. And change the opacity to 25% or whatever you prefer.
    How to Make a Watermark on PS -3
  9. Now you have to create a pattern with this.
  10. Go to Windows and select Patterns. Then you will have a pattern panel. On that panel select the middle icon from the right bottom corner.
    How to Make a Watermark on PS -4
  11. Now you have to give a name. As usual, I’m giving the most expected ordinary name ‘Watermark’ and click OK. You will see a brand-new pattern on the pattern panel. Now, save it to use later on your images.

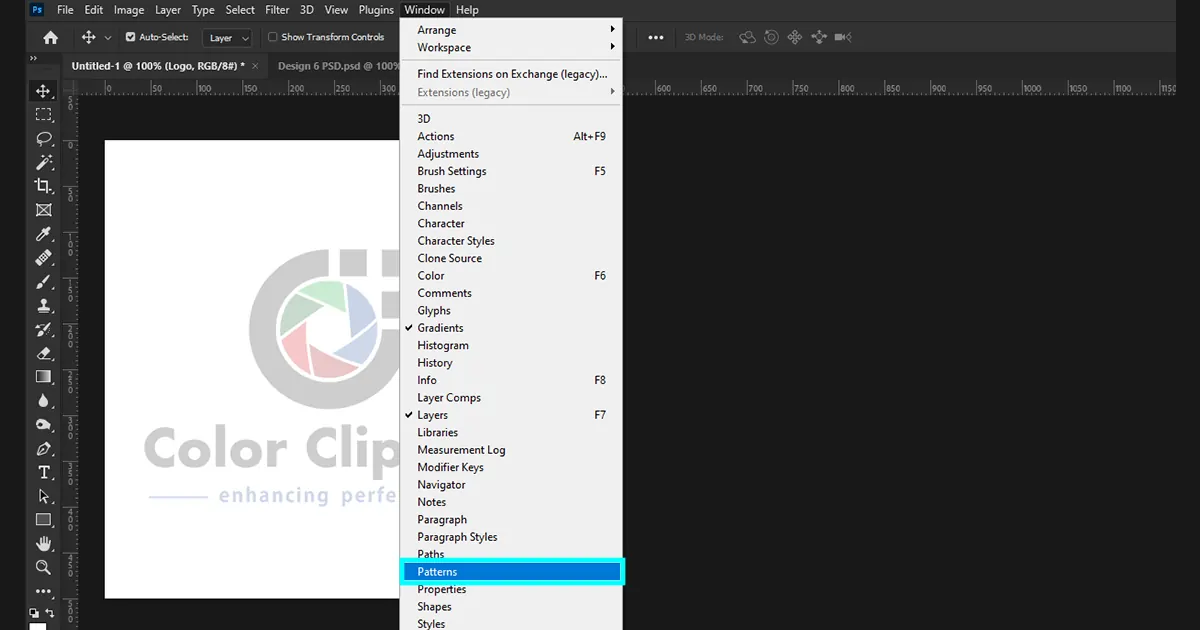
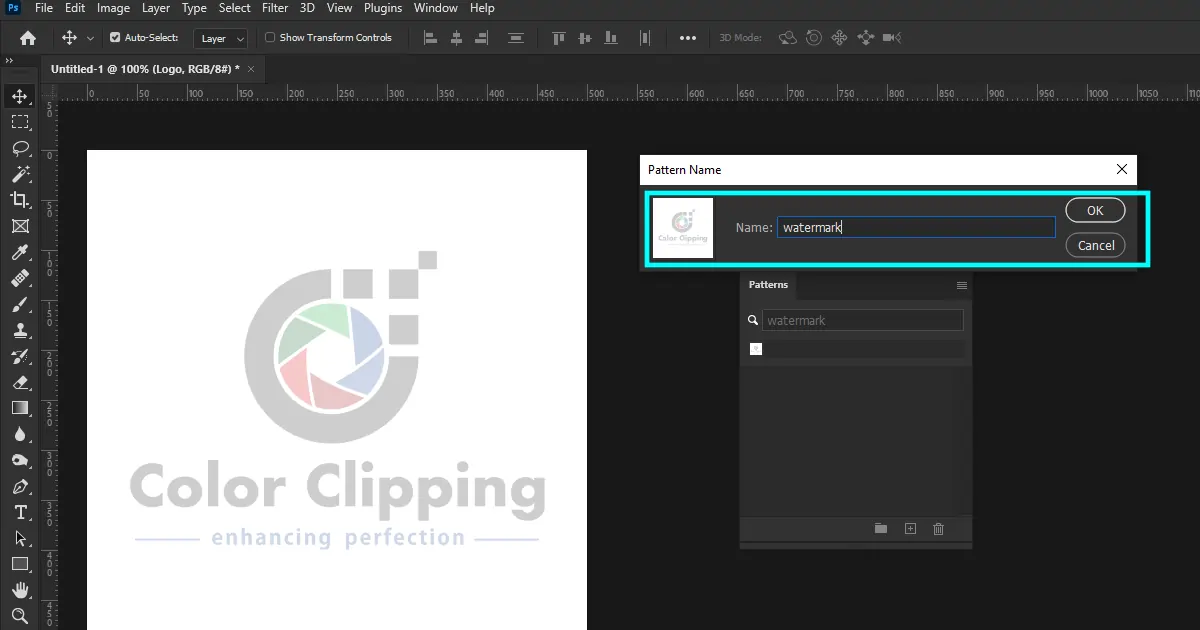
Now whenever you edit an image and go to pattern fill, you will find this pattern on the pattern fill panel.

How to Make a Watermark on PS -5

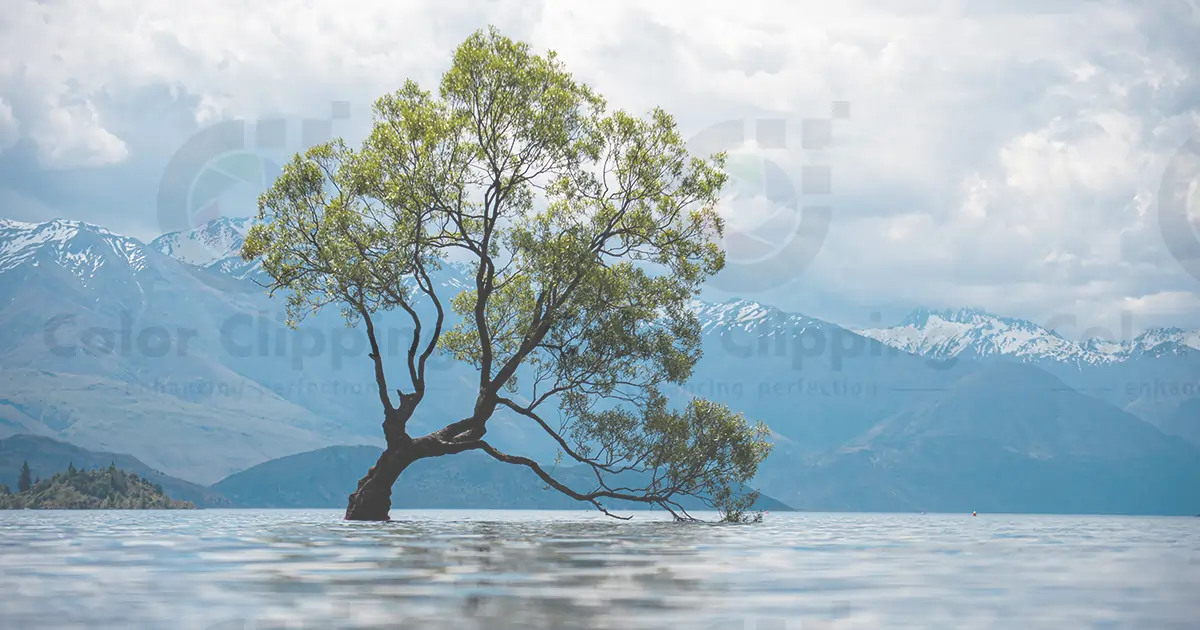
And the final look will be something like this…

How to Make a Watermark on PS -6

How to Make Your Signature into a Watermark?

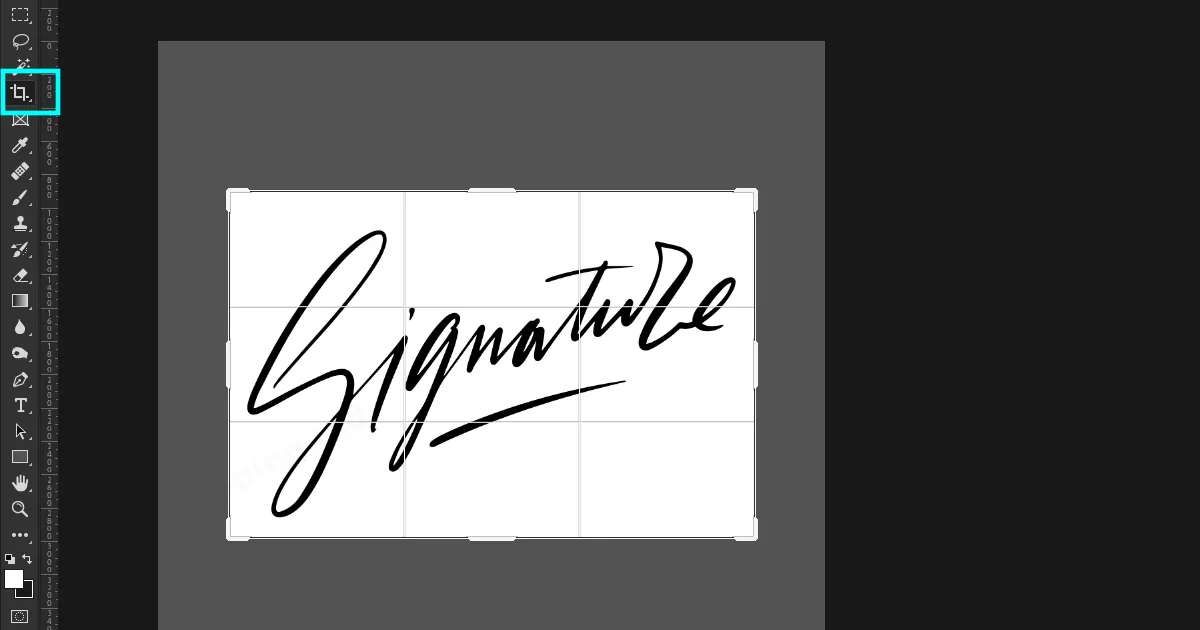
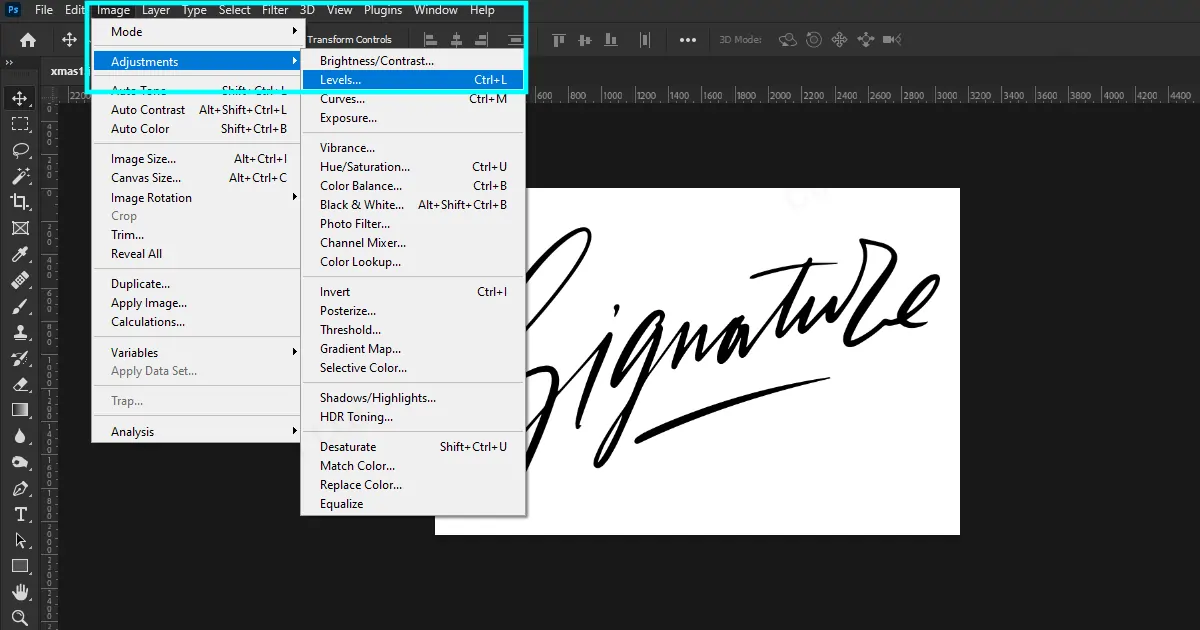
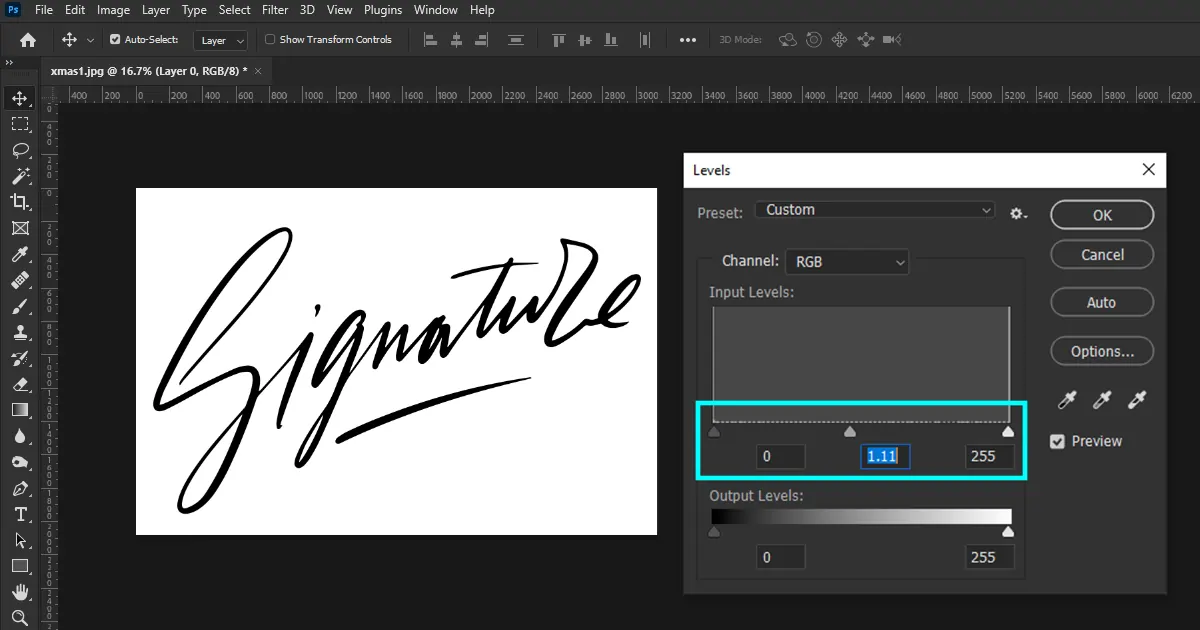
Isn’t it cool when you see someone’s signature on a video’s watermark? Or even in a softcopy document. This specific style used to mesmerize me a lot and I always thought this transparent watermark might be too tough to make. But in reality, these are very easy to do. You don’t need any kind of clipping path, special presets, or graphics tab to do these signature logos. You just need Photoshop. How to do that? Let me show you how to make a handwritten signature logo…

  1. Take a white paper and give your signature. Take a picture of your signature.
  2. Now take the photo on your PC and open it on Photoshop, click and drag to Photoshop.
  3. Resize the picture. To crop the signature, go to the left toolbar, there you will find the Crop tool icon. Select the crop tool and crop the picture. Crop out to the point where only the signature is visible. Basically, crop out all the unnecessary elements.
    Make Your Signature -1
  4. After that go to the Image from the top toolbar and select Adjustments > Levels.
    Make Your Signature -2
  5. From the Levels panel, you will see three levels of arrows on the input levels. So, click on the right arrow and drag it to the left. Drag until the background of the signature gets totally white and the signature gets black.
    Make Your Signature -3
  6. Then go to select from the top toolbar and there you will Color Range. Select Color Range.
  7. On the Color Range panel at the bottom you will see, Selection Preview. Select ‘Grayscale’ on the selection preview and also do a right check on the ‘Invert’ from the right bottom corner. Lastly, select OK.
    Make Your Signature -4
  8. Go to the layer panel and select the circle-looking icon on the right bottom part of the panel. From there select Solid Color.
  9. Now select a color that you want for your signature. Here I’m choosing black for my signature.
  10. From the layer panel delete the background. Your work is almost done. You can crop and rotate a bit to adjust the signature. Now, it's time to save the work.
  11. Go to File and then select Save as. Now, select the File format as PNG (*PNG, *.PNG).
  12. Give a name to the file! Guess what I’m going to name my file? Yes, of course, the most expected, ordinary name is ‘Signature Watermark’. Duh!
    Make Your Signature -5

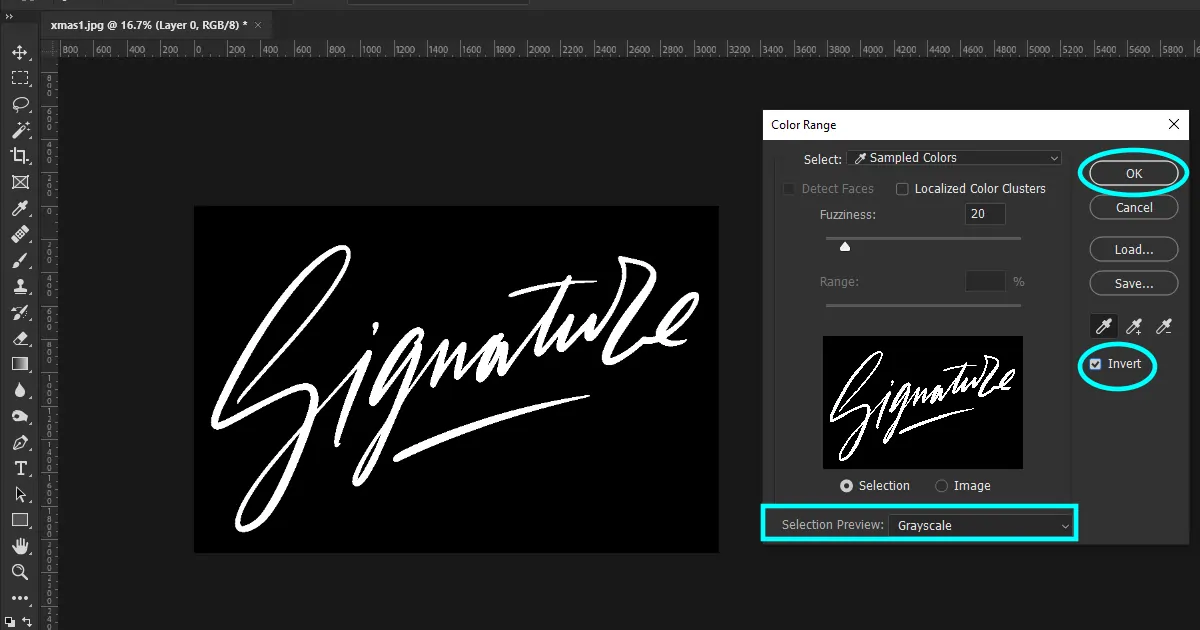
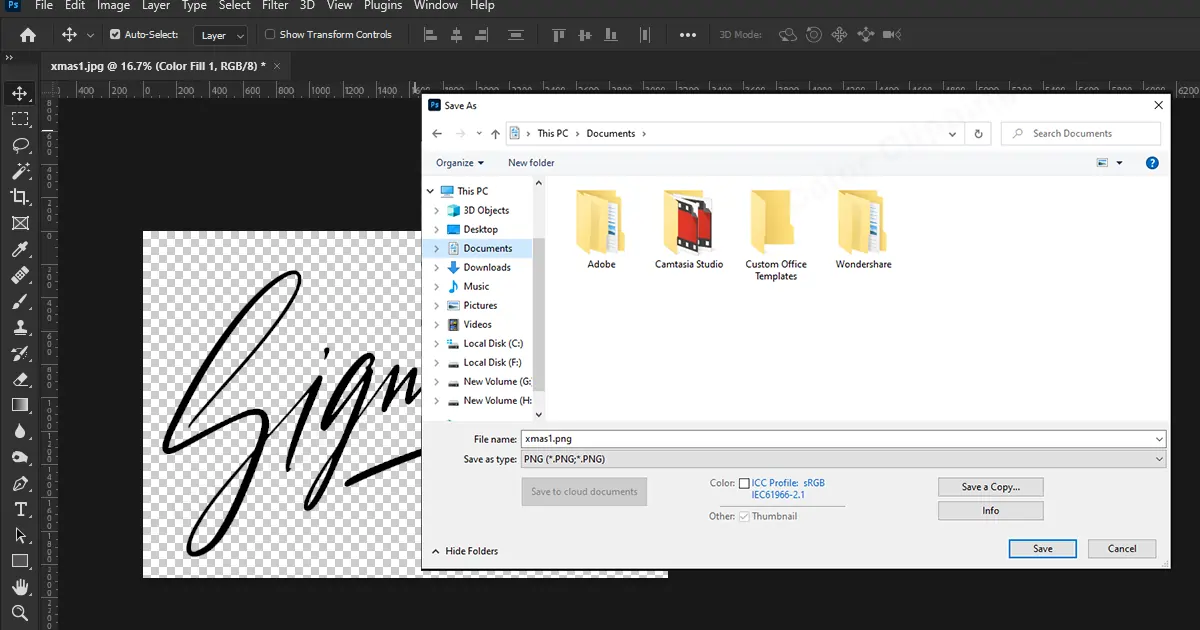
And there you have it. Congratulations! Now you have a watermark with your name on it.

How to Remove Transparent Watermark in Photoshop

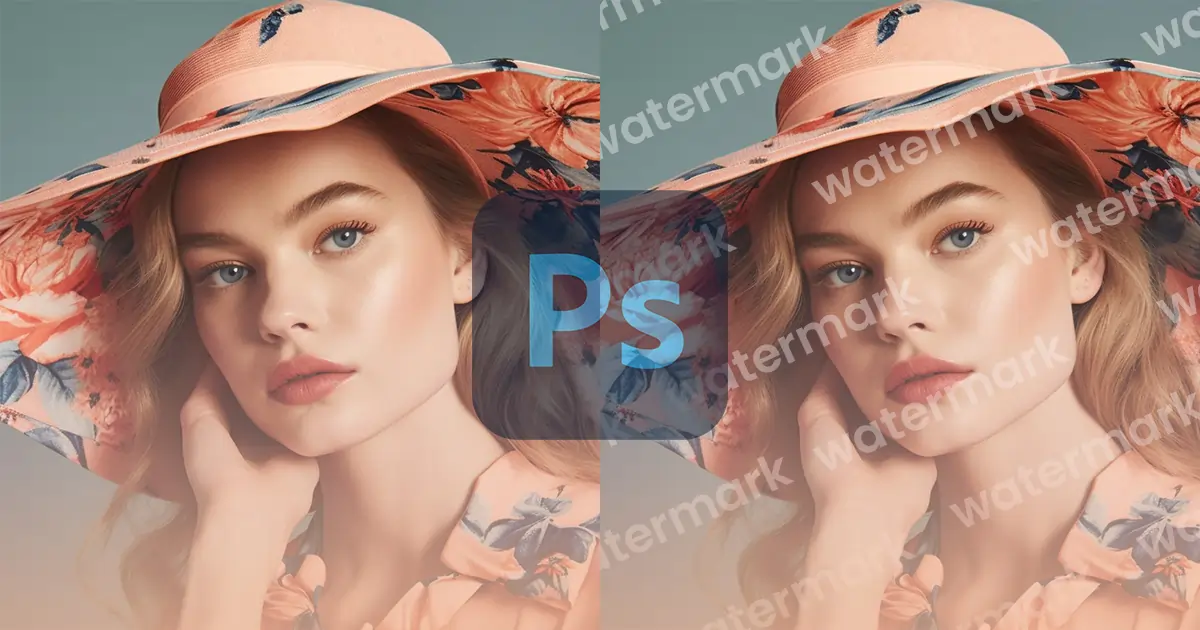
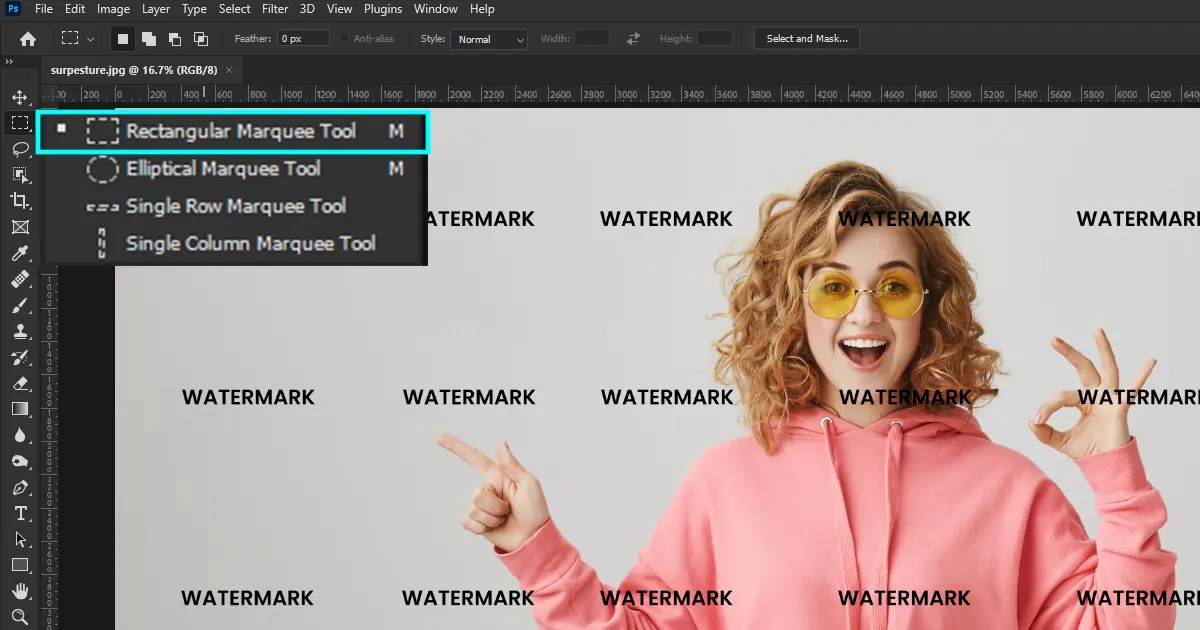
Even though in some cases you can use the ‘Clone Tool’ to remove the watermark, this is not always effective. So, you can also remove it in another process. Let’s learn that…

  1. Select ‘Rectangular Marquee Tool’ and draw a box over one watermark on the pattern.
    Remove Transparent Watermark in Photoshop -1
  2. Press CTRL+J and press CTRL+I
  3. Go to the layer panel and select ‘Color Dodge’
    Remove Transparent Watermark in Photoshop -2
  4. Press CTRL+J and hold CTRL, while holding the color-changed watermark and drag it to another watermark.
  5. Place the watermark over another watermark and you can see the watermark vanishing like this.
    Remove Transparent Watermark in Photoshop -3
  6. Now repeat this for every watermark in this pattern.

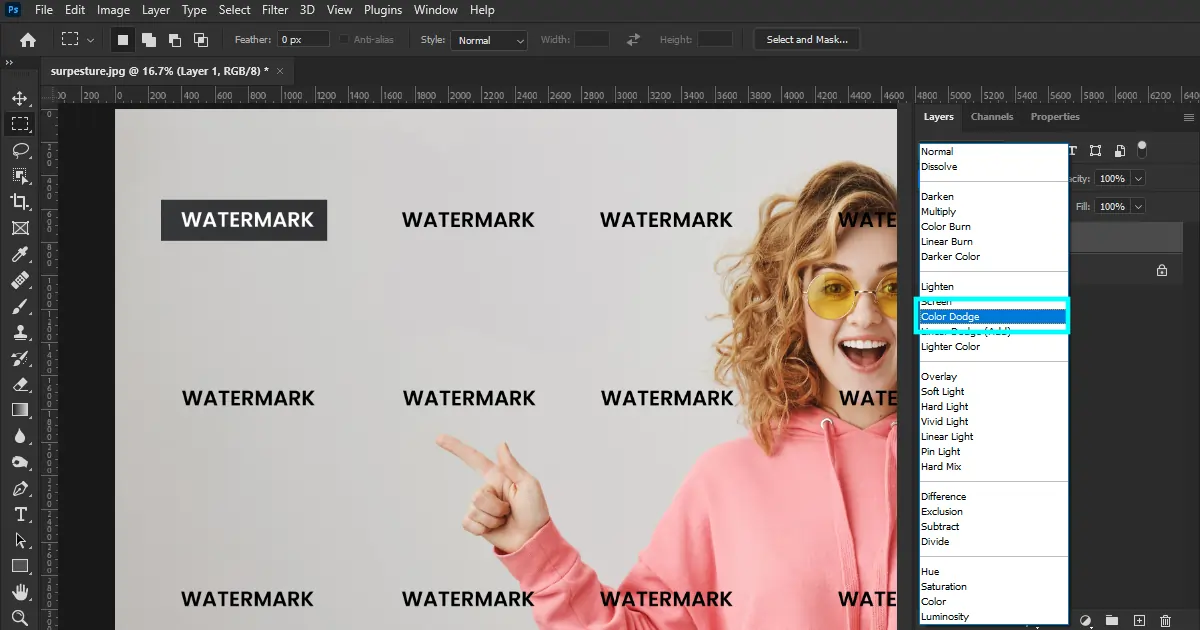
There you have it, a watermark vanished picture for yourself.

Ending Lines

Photographers use watermarks to identify their images. These steps will help you add watermarks to your photos really quickly and easily. They'll look even better when you make them into Photoshop Actions or Brushes.

If you still find these methods hard, then what are we for? Just leave the hassle to us. We do all kinds of photo post-processing work so that you would boost your business without facing any problems. We have expert skills with good experience in work which ensures the best quality of photos for your product. So, what are you waiting for? Go and watermark your hard work. Bye bye!!

FAQ

The best or typical place is the lower right or left corner of an image. But it’s not mandatory to place it there. It’s wise to place the watermark in a place where it can not be easily removed or cropped out. Also, you can use patterns in the picture to get more security.
No, but it gives an authority. If your business is licensed and your business logo is also licensed then it will be able to protect your images through the identification.
Hidden watermarks are more for secret messages. Other than that if you are looking for something like a Google search engine that can track easily then a visible watermark is more preferred.

Anika Wahab Photo
Written by

Anika Wahab

Hello, it's Anika, Content Executive from Color Clipping Ltd with a devotion to contributing my skills and knowledge more simply. Keep learning and growing with us.