How to Export Slices in Photoshop

Read | Loved by: 72938
Slice. What comes to your mind after hearing the word slice? A pizza slice? A slice of cake? A slice of mango? A slice of bread? Or a slice of an image? Yes, an image. I know you might be thinking of cutting with the help of a scissor, a blade, or even a knife. But wait, no need to get violent. We can even use software like Photoshop to do this simple slice and export it on your device. Don’t know how to export slices in Photoshop? What am I here for? Today we will jump deep to dive into exporting slices in Photoshop.
There are many apps and software to choose from. But Photoshop slices are best when it comes to export in my opinion. Beginners and sometimes advanced-level editors also struggle with how to slice on Photoshop and even more with how to export on Photoshop. Exporting slices in Photoshop CC is very easy. Without further stretching the topic let’s talk about how to slice images in Photoshop and how to export photos from Photoshop.
8 Simple Steps on How to Export Slices in Photoshop
Image slices are such a trending thing on social media where you can upload slices of an image of one image and that makes the audience more engaged with the profile or that specific id. Not only that on many websites as well you can find some good slices of images oriented in a way that will make you stick to the page for a long time and sometimes make you feel playful as well. Let’s know the simple steps of achieving those slices and exporting them to your device.
Step 1
Open the image you want to export in Adobe Photoshop.
Step 2
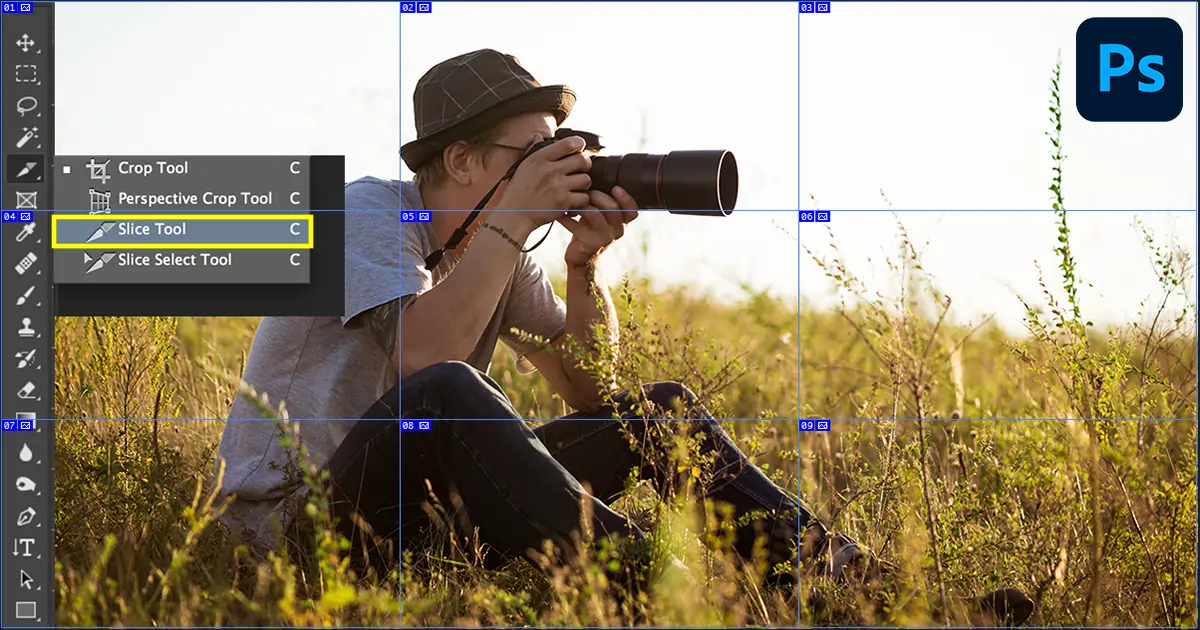
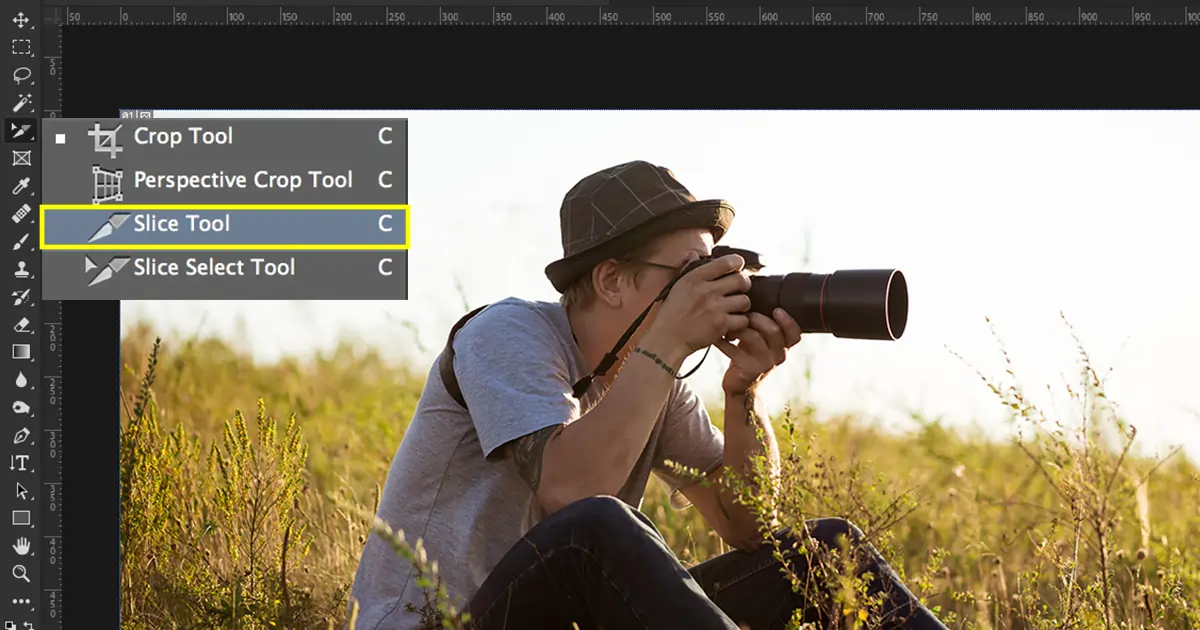
Go to the left toolbar and click on the Crop Tool icon. You will see 4 options. Now select the Slice Tool option by clicking on it.
Step 3
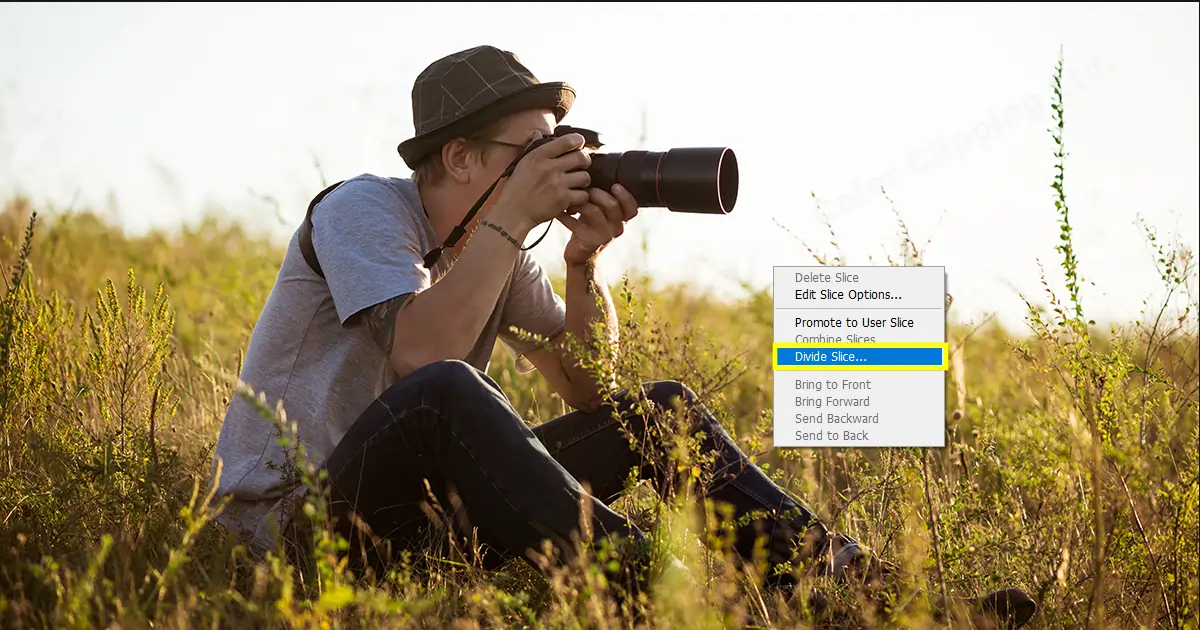
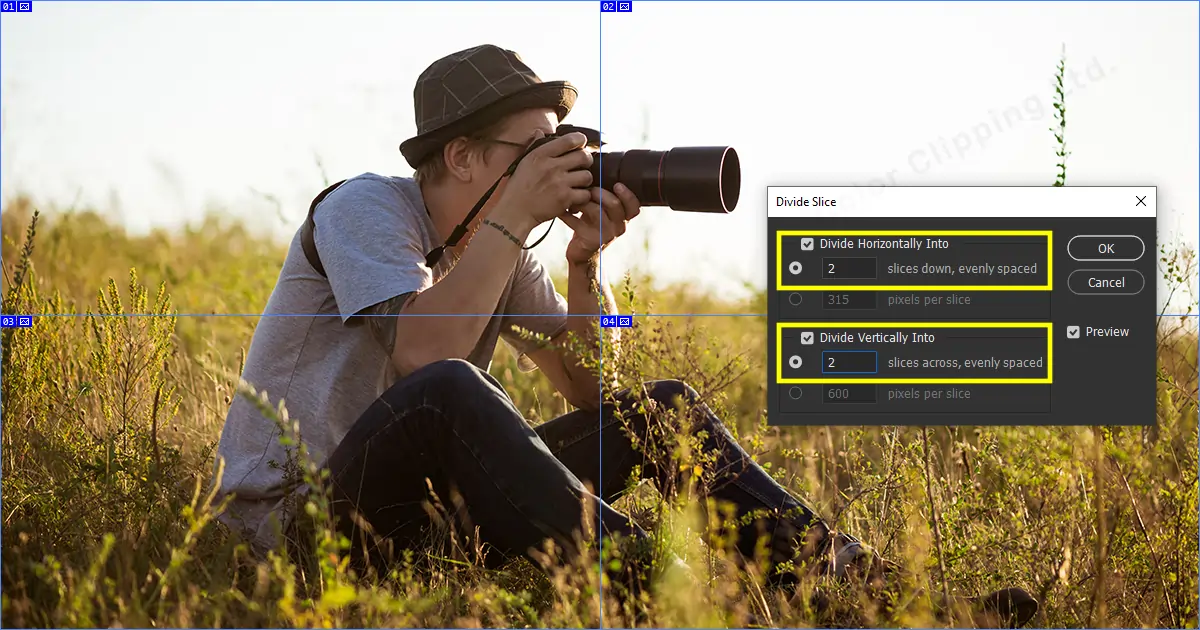
Right-click on the image you opened on Photoshop for slicing. As soon as you right-click on the image you will see “Divide Slice” on the option.
Step 4
In the “Divide slice” panel, click on Preview. It will help you to see the changes.
Step 5
Select the number, how many slices you want for your cake, I mean image. (Don’t mind having a slice of cake after a long working day). You will see two boxes of Horizontal and Vertical lines. Select or write your preference number. For now, I’m writing 2 for each to divide the picture into 4 equal pieces.
Step 6
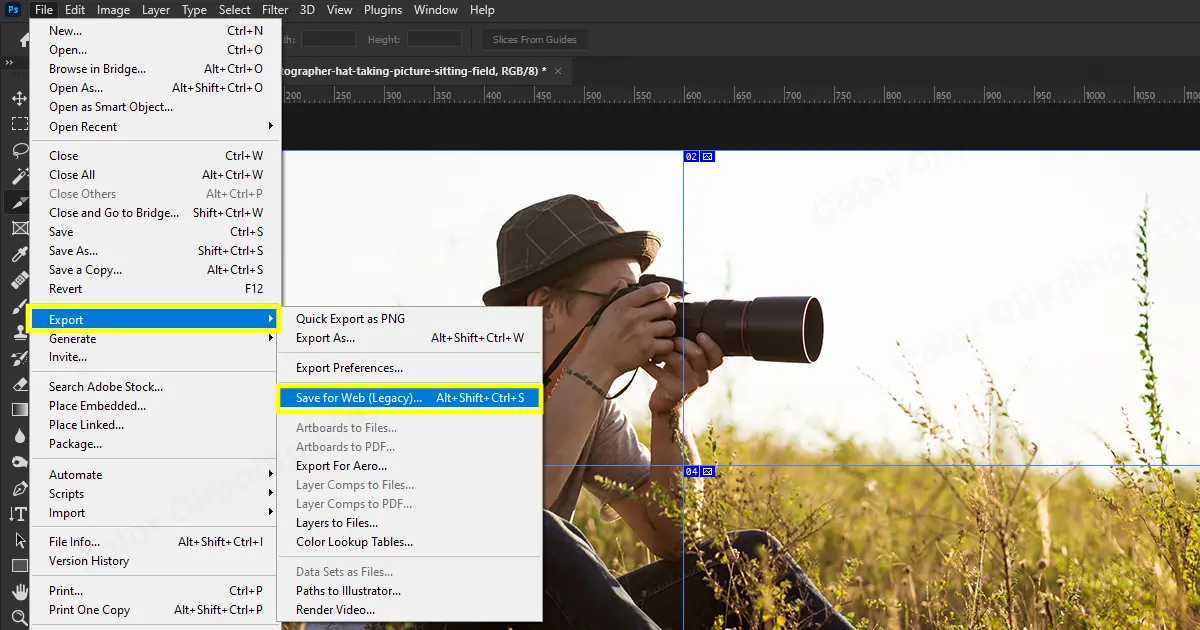
Go to File and from the drop-down menu, select Export. From Export’s drop-down menu select Save for Web.
Step 7
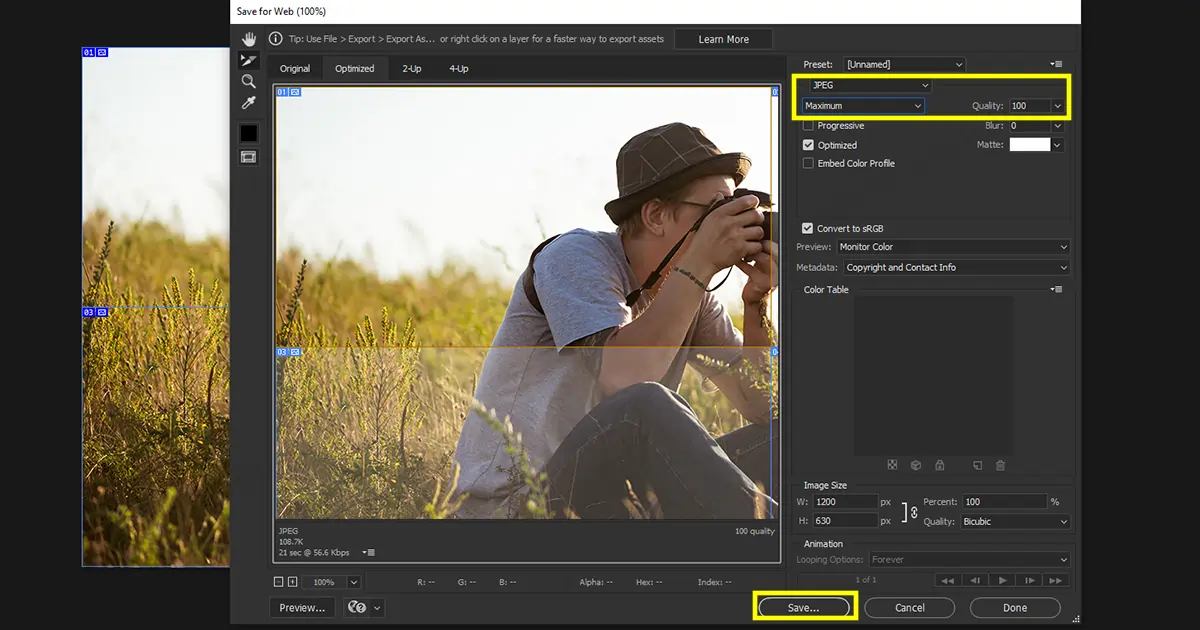
A new panel will appear. In this panel select JPEG for the format and select maximum for the quality. Click on the Save option at the bottom of the panel.
Step 8
Now, select the folder where you want to save these split images. Give a file name. here I’m giving the most expected ordinary name “split images” and click on save.
And Congratulations! You have sliced your image into 4 equal pieces. Now go creative with your image slices.
Wrapping Up
So that was all about how to slice images in Photoshop and how to export multiple photos in Photoshop. Always remember if there is a problem, there also must be a solution. And talking about Photoshop, there are many options and ways to go and do your work. For example, you can make your own brush shape in Photoshop. And if you still feel a little hard to edit your photos, then don’t worry. Leave it on us. We will do any kind of photo editing that you want. Visit our website to learn more about us.
FAQ

Anika Wahab
Hello, it's Anika, Content Executive from Color Clipping Ltd with a devotion to contributing my skills and knowledge more simply. Keep learning and growing with us.
Categories
Tag Cloud
Latest Stories