Photo Editing


Do you wonder why your photos look different from the real ones? I guess we all have been there. The scenario in front of us looks amazing. But when we took the picture it lost exposure in some places and had high exposure in others. That imbalance exposure ruins everything. No matter what you do you can’t take the perfect picture with one shot. That is when you should do Bracketing in Photography. What is Bracketing in Photography then? Let’s find out…
There are complex words to answer the question of what is bracketing in photography. But in simple words, merging underexposed, normal exposed, and overexposed images of the same shot (scene) is bracketing in photography. In Bracketing, photographers take pictures of a shot in 3 or more different settings to capture the perfect exposure of different places in the picture. and then with the help of photo editing software, they merge the image to get the perfect exposure for the photo. Even though there are lots of software where you can edit or merge your images, I prefer to use Adobe Lightroom to merge these images and bracketing to capture the perfect exposure in every spot.
There is not only one type of bracketing. There are quite a number of bracketing in photography.
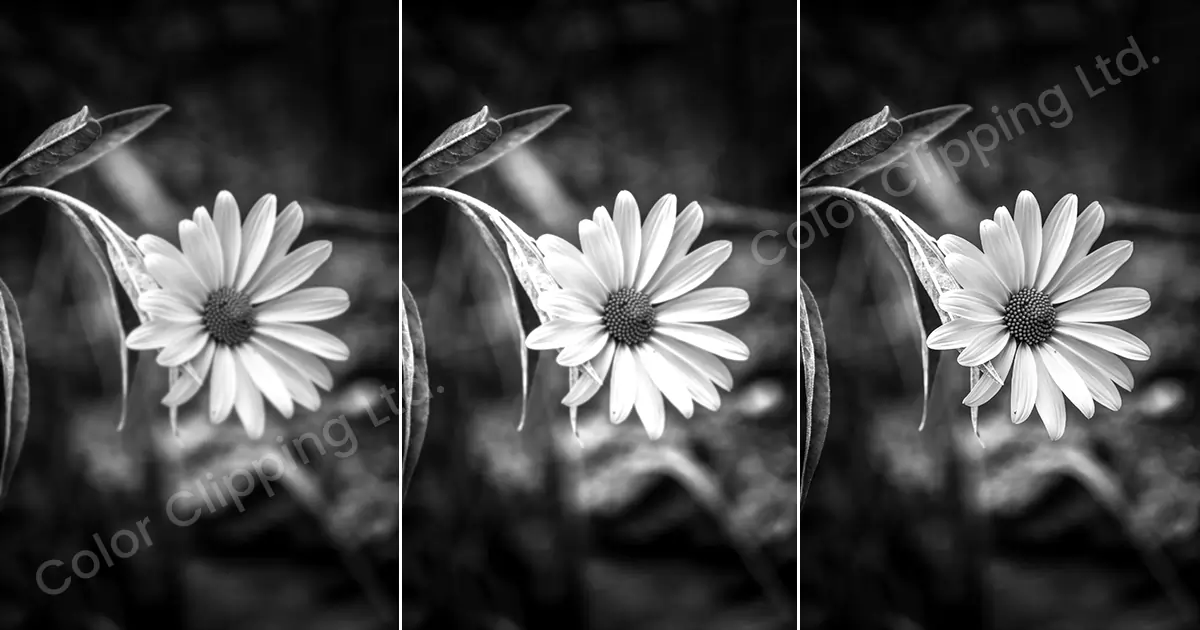
Exposure bracketing is the most common bracketing in photography. Usually, when someone mentions bracketing in photography, they refer to exposure bracketing. It works great in a large dynamic range of objects, mostly in overexposed and underexposed areas in an image. For example, some places have overly exposed areas like direct sunlight and some have underexposed like shadowy areas.
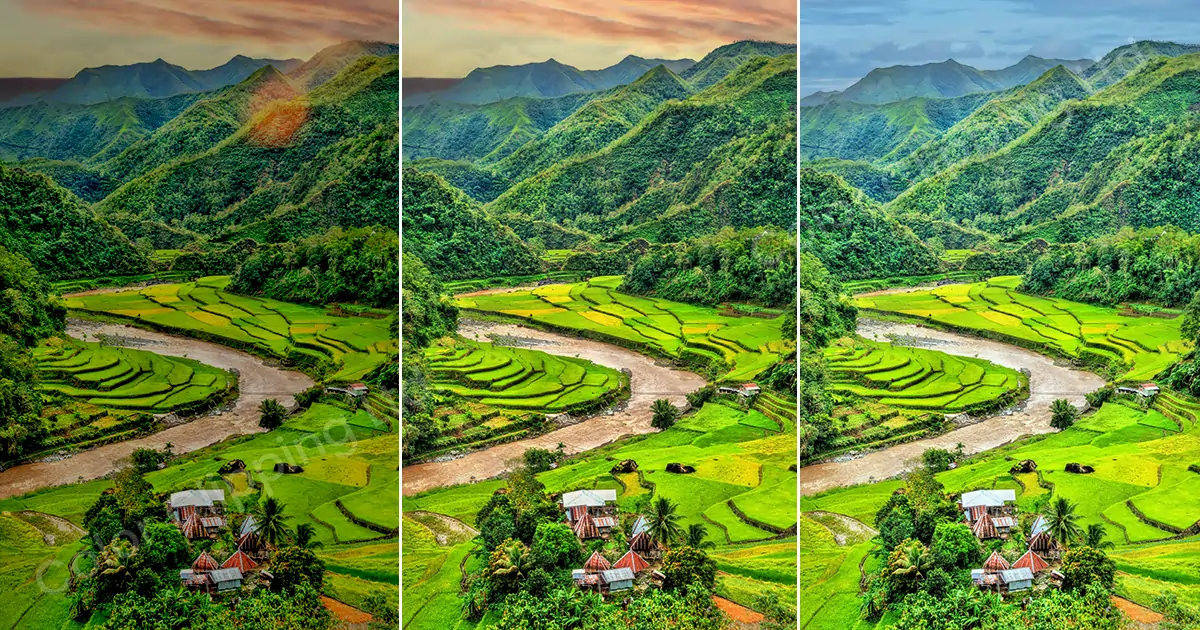
It can be done automatically on almost any camera with the help of HDR. Every camera has similar settings regarding this exposure bracketing in photography.
You will find different explanations regarding focus bracketing and what is bracketing in photography, in different books and web pages. And these explanations can be confusing sometimes. Let me try to explain in the easiest words so you don’t get confused.
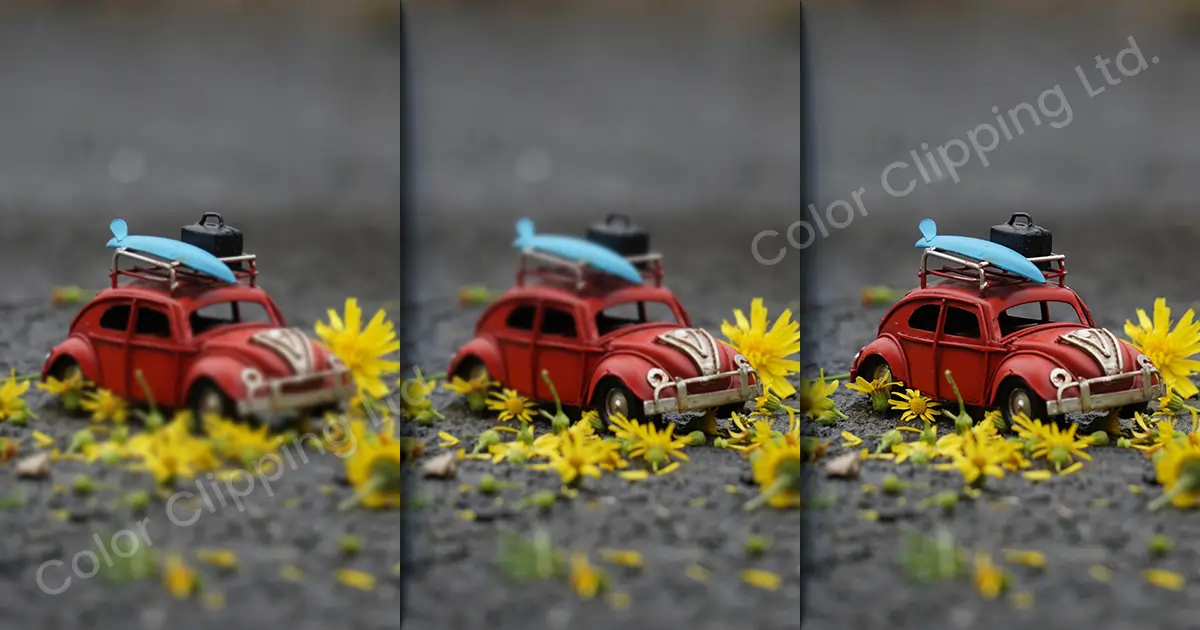
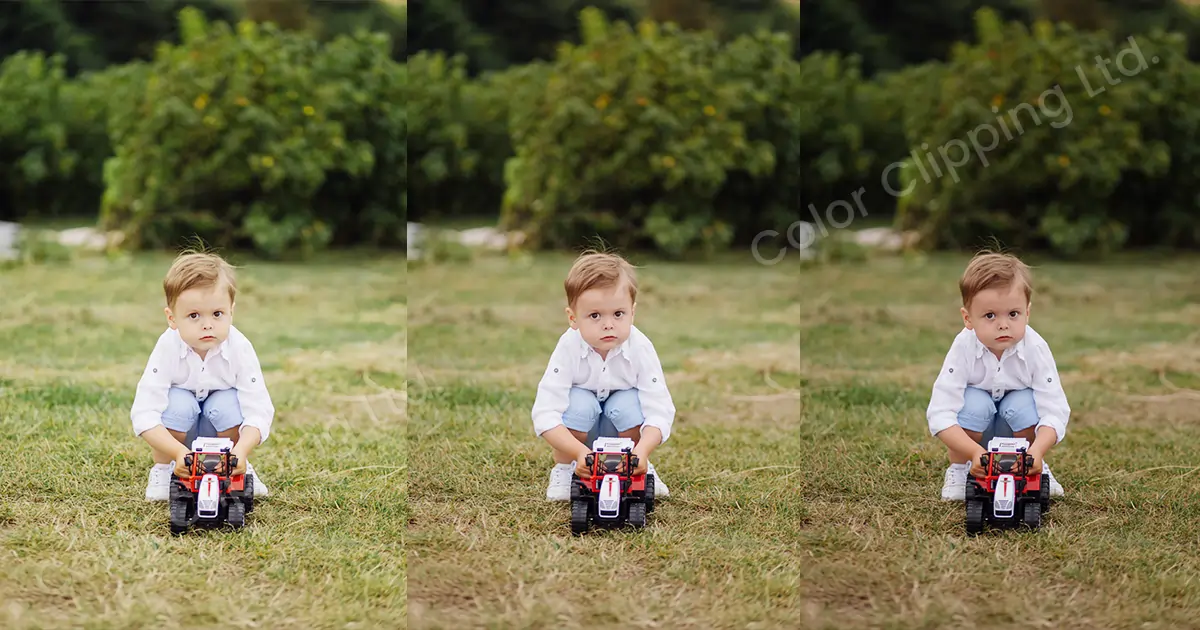
“Focus bracketing” the name is pretty self-explanatory. It works with the focus of the pictures. Talking about focus it works with the Aperture of the camera. Just like in exposure bracketing, you bracket for the perfect exposure, here you bracket for the perfect focus. Basically, you have to capture several pictures in the same position with a different focus on different places in each picture. The camera will change its aperture in every frame. You can blend or bracket them in photo post-processing software afterward.
Yes, you guessed it right. Following the pattern, flash bracketing works on the flash of the pictures. Do you ever get confused about whether to use flash or not in a picture? That is the ultimate question of all. In that situation, Flash Bracketing comes in handy. You can do both. Take pictures with flash and without flash. To do the proper flash bracketing you have to understand the exposure triangle very well. You need various flash intensity settings in your camera to capture different sections of the image. in this bracketing, you have to make sure the flash intensity is going correctly.
It’s like you are taking a picture in different flashes, with a bright flash, semi-bright, natural, low flash, and no flash. Now take these images and blend them in photo post-processing software.
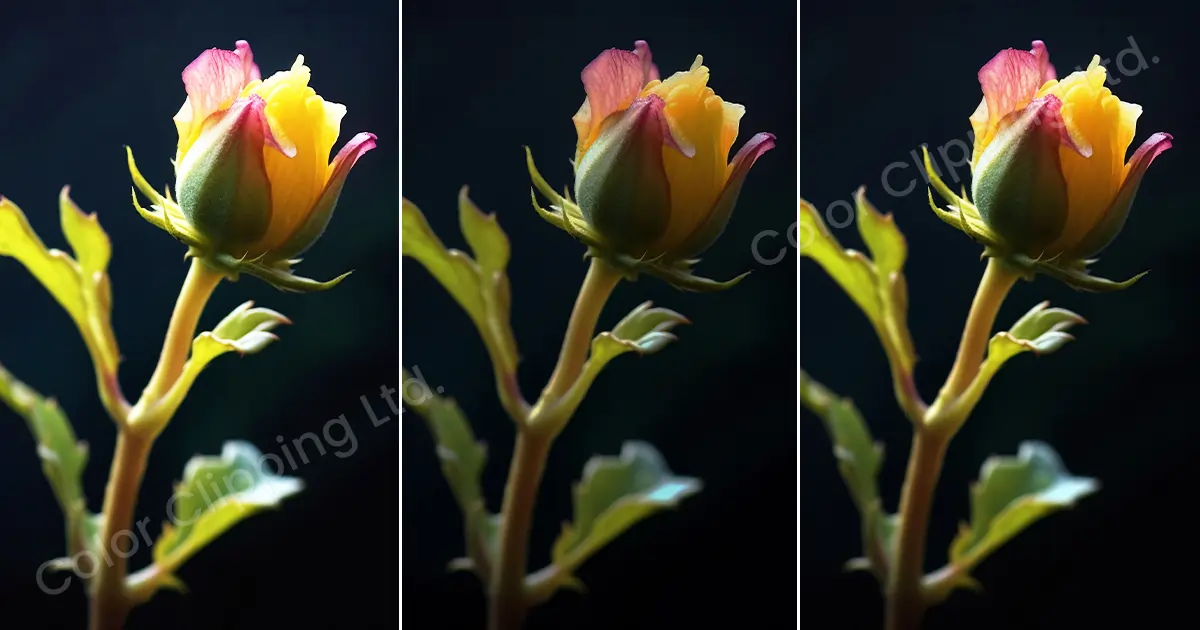
The result of depth of field is similar to the focus bracketing (stacking). In this bracketing, you have to adjust shutter speed and ISO but you need to remain exposure constant. there is a good thing and a bad thing. The good thing is you can find this depth of field bracketing in-camera features and functions, but the bad thing is this feature and function is not available on every camera. Depth bracketing is actually more difficult than other bracketing. Depth of field bracketing is done to have control over soft focus and sharpness.
In short, in this bracketing, you have to take pictures of the same scene and different objects will be out of focus and different objects will be in focus. And you have to blend them afterward in photo editing software.
Now, let's talk about White Balance Bracketing. White Balance Bracketing works with the temperature of the image. If you are a photographer or do photography as a hobby, you probably are familiar with white balance. White balance bracketing is also kind of the same. It is an unusual technique in bracketing in photography.
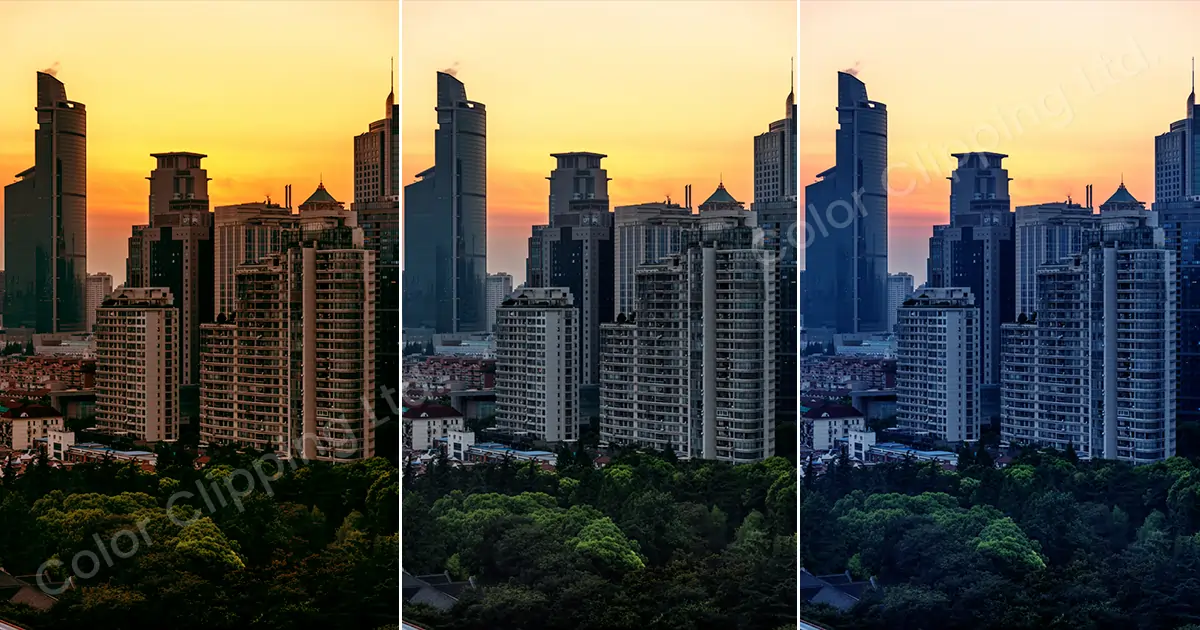
Suppose you went to a restaurant and they have vibrant cool-toned lights on their decorations, which makes the room so attractive. So, you want to take a beautiful picture of the room. But since it's daytime, your picture has a bright window and sunlight with it, which also gives a very beautiful look. Now what to do? Would you capture the sunlight? or the decoration light? Why not both? Yes, you can have both in one picture. Click some pictures with high temperatures at different levels. Then have some pictures with a low temperature at different levels. The same as previous blend them into photo post-processing software.
ISO bracketing is the final bracketing in digital photography techniques. It is also known as the most commonly used bracketing method among all. Again, as the name refers, it works with the ISO of camera settings. In ISO Bracketing you get images in different amounts of noise. By blending the images, you get an image with a decent amount of ISO. The tricky part is, in this bracketing, you don't change the Aperture and Shutter Speed. The aperture and Shutter Speed will remain the same, only the ISO will change in every image.
Out of personal experience, I would suggest you check your camera settings before shooting. You can always go manually but that of course can't give 100% output.
HRD stands for High Dynamic Range, is a photography post-processing technique. In bracketing, it's all about the blending. To blend the shots and pictures of the same scene you would need software. This software's work is all in photo post-processing.
It's better not to use HDR photography on bad weather days. It won’t give you up to the mark result. If you want to have details in the picture, you have to make sure you have clicked the picture from which the details can be seen. Or can be drawn off. Otherwise bracketing won’t work here.
The bracketings that I have mentioned above are not available in all types of cameras. You will find some of them built and mostly not built. Mostly you have to work on the bracketing manually and if you are using it manually then don't forget to use a tripod to work on it. So, you don't lose the balance. Besides that, if you are working manually, you will have more control over the camera settings. Also, you can control them manually.

Hello, it's Anika, Content Executive from Color Clipping Ltd with a devotion to contributing my skills and knowledge more simply. Keep learning and growing with us.
Deowan Shimul
Since 2010, Deowan Shimul has been refining the art of jewelry retouching, combining precision with advanced technology. In 2017, he expanded his expertise into commercial product photography and now leads a team of 120 professionals. Together, they produce high-quality visual solutions that help brands grow, streamline workflows, and achieve real results for clients worldwide.

Chief Production Officer