Photo Editing

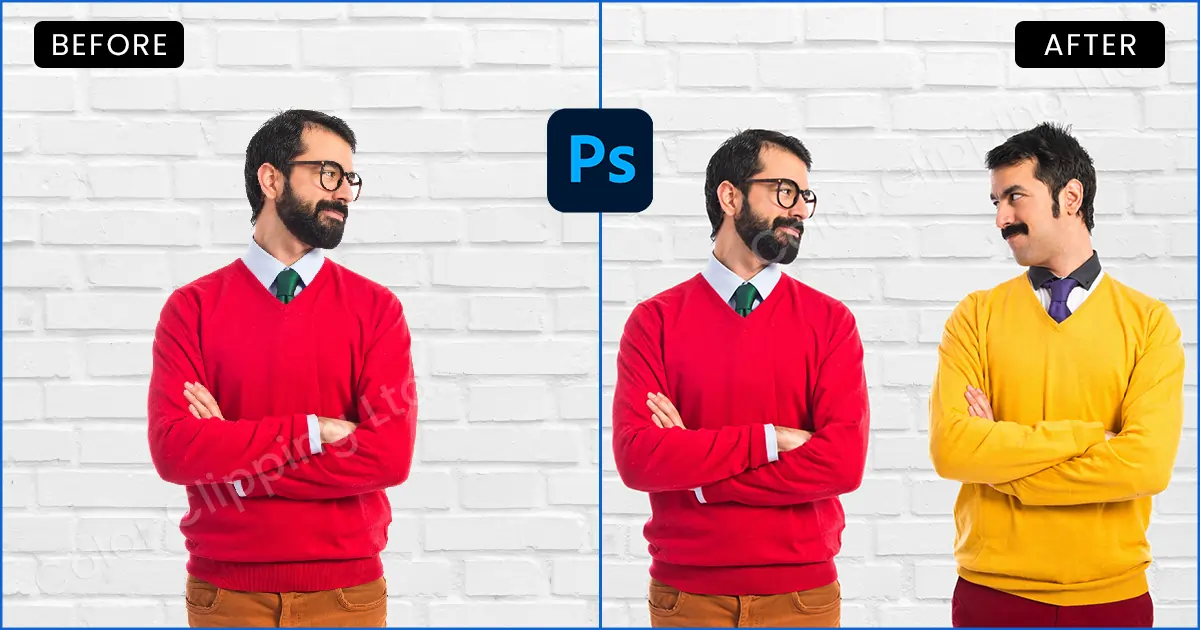
Love editing photos? Then you must be familiar with Adobe Photoshop. If Photoshop is your favorite time pass, you would probably love to replace people from one place to another by Photoshopping. In today’s blog, I will discuss how to Photoshop someone into a picture using Adobe Photoshop.
Imagine you have a big event and one of your family members or someone close couldn’t make it to the spot at the special moment. But you really don’t want to miss them out in the big frame. What to do then? Photoshop of course.
Or you may just love playing with Photoshop and want to make funny photos by photoshopping someone into a photo to entertain your friends and audience. Then hello, next James Fridman. You just need two images. One image includes the person and another one where you want to photoshop the person.
So, without any further delay let’s jump into the tutorial…
Open the images that you want to work with in Adobe Photoshop.
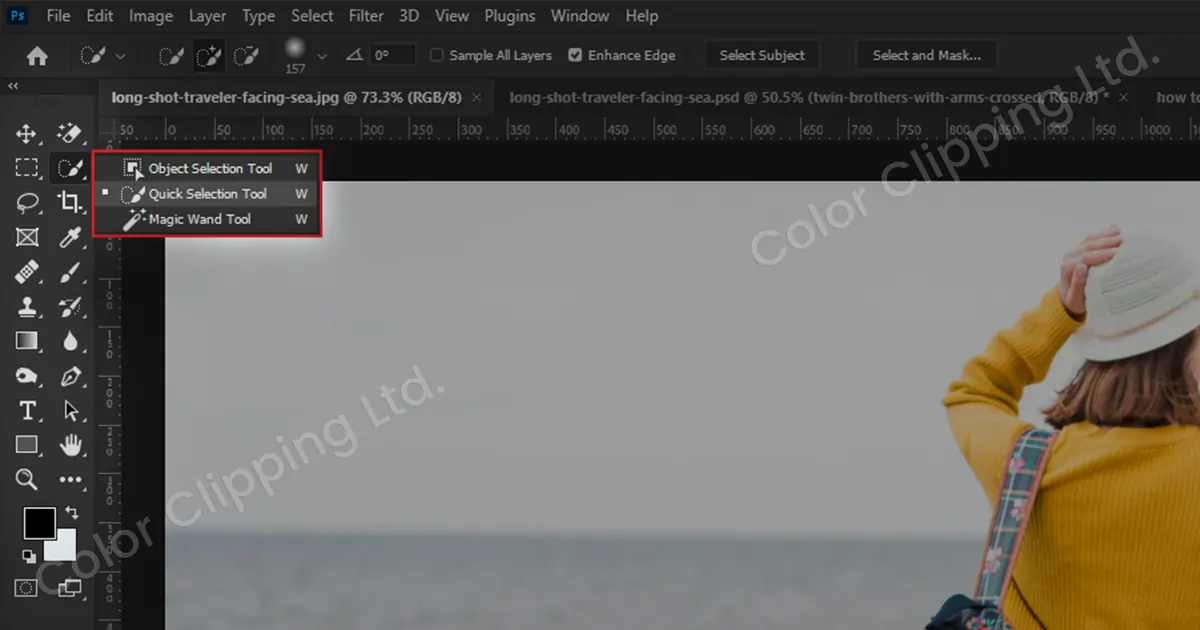
Cut the person out from the image that you want to have in another image. In Photoshop use the “Object Selection Tool” from the right toolbar. Then choose “Select Subject” from the top toolbar. Photoshop will automatically select the subject. If it doesn’t select the object you wanted then you can always do that manually. By tracing out the person with the help of the “Lasso Tool”.
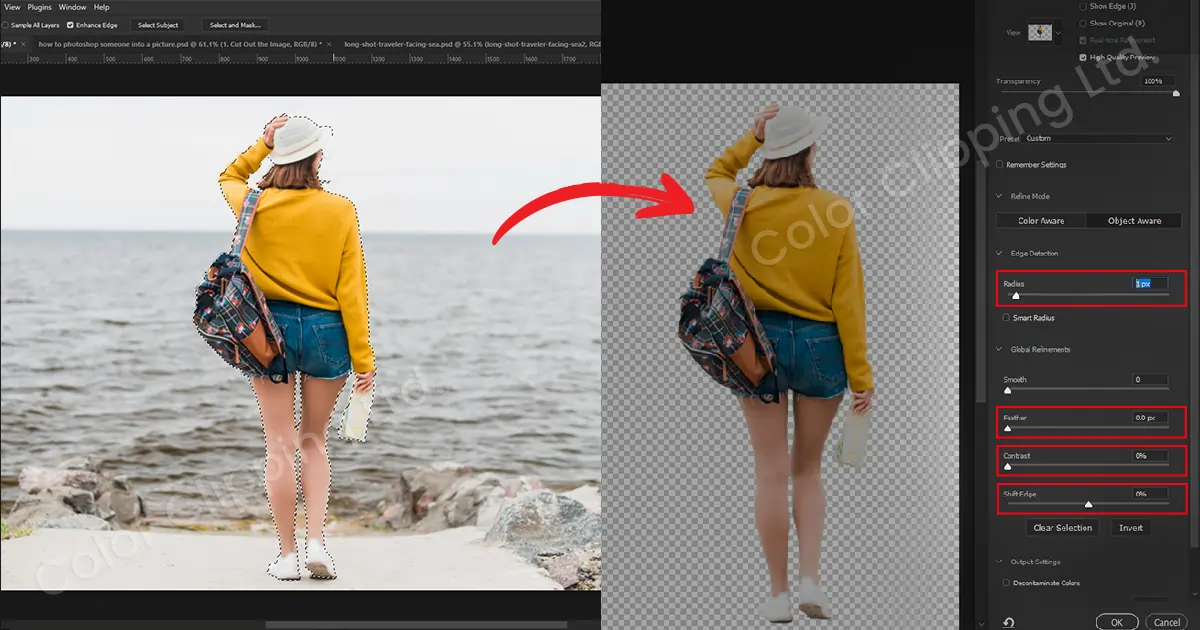
To refine the edges, choose “Select and Mask” from the top toolbar. Now, from the “Edge Detection” set the radius to one pixel. Then adjust the feather and contrast according to your preference. From the “Output Settings” section select decontaminate colors. Also, select the “New Layer with Layer Mask” option and click ok.
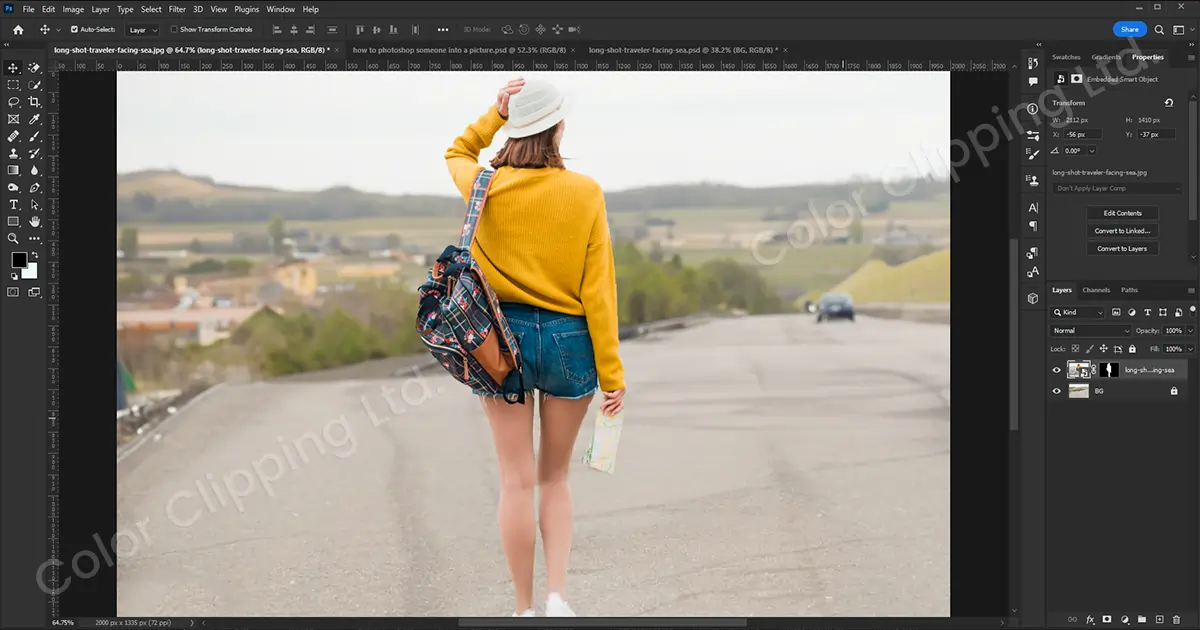
Press the ‘V’ Key and click on the object to select and drag up into the tab of the image where you want to place the object/person and drag it into the picture and release it.
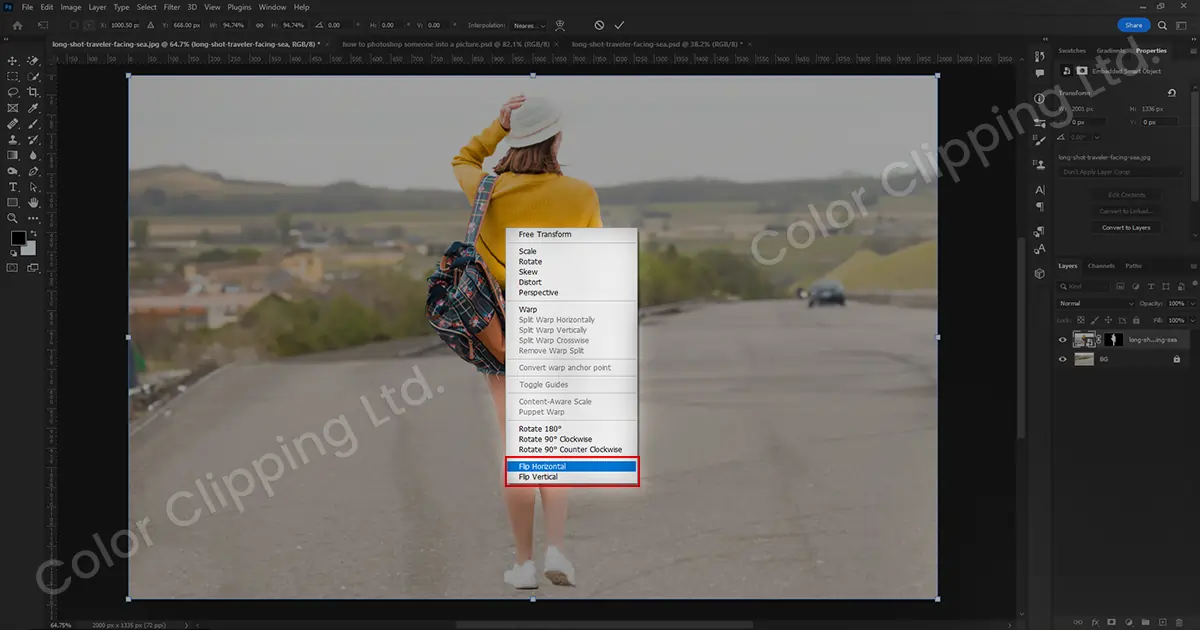
Obviously, the lighting of the two images won’t match with each other’s. So, you have to make sure that they match properly. Not the photo where you want to place the person. Notice the direction of the light hitting. If the person’s image also has the light hitting in the same direction, then it will work. If not then…
Right-click on the picture and choose ‘Flip Horizontal’. (You can also go vertical if it fits the requirements and goes with the concept)
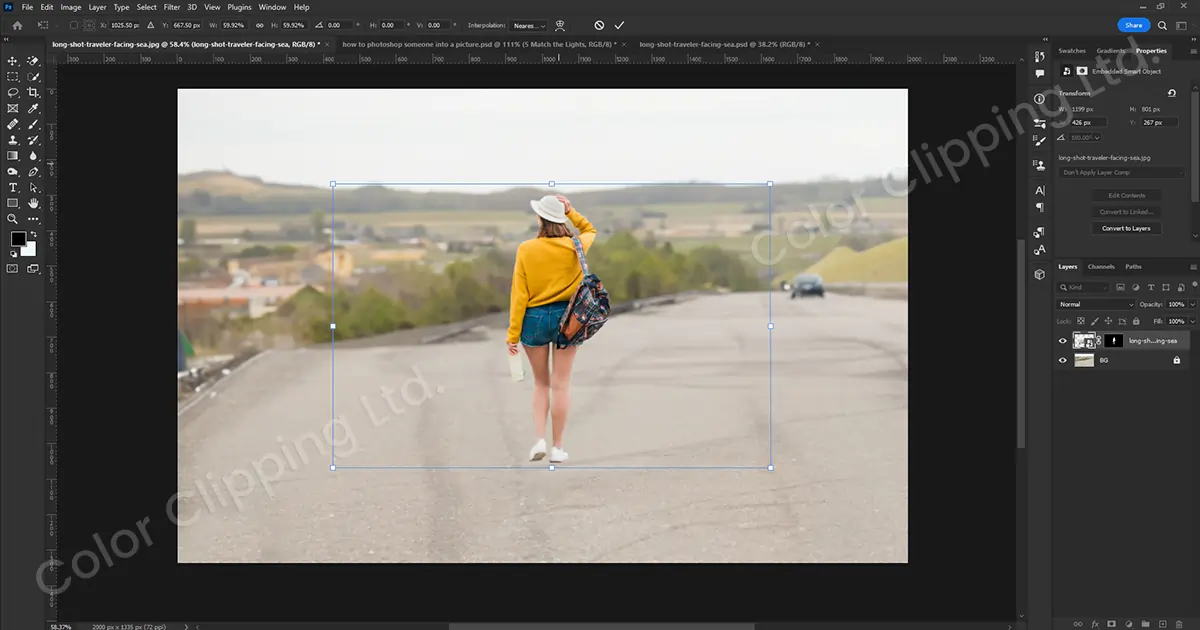
Hold down the option key scroll out to see the box and drag from a pointer to make it big or small according to your choice.
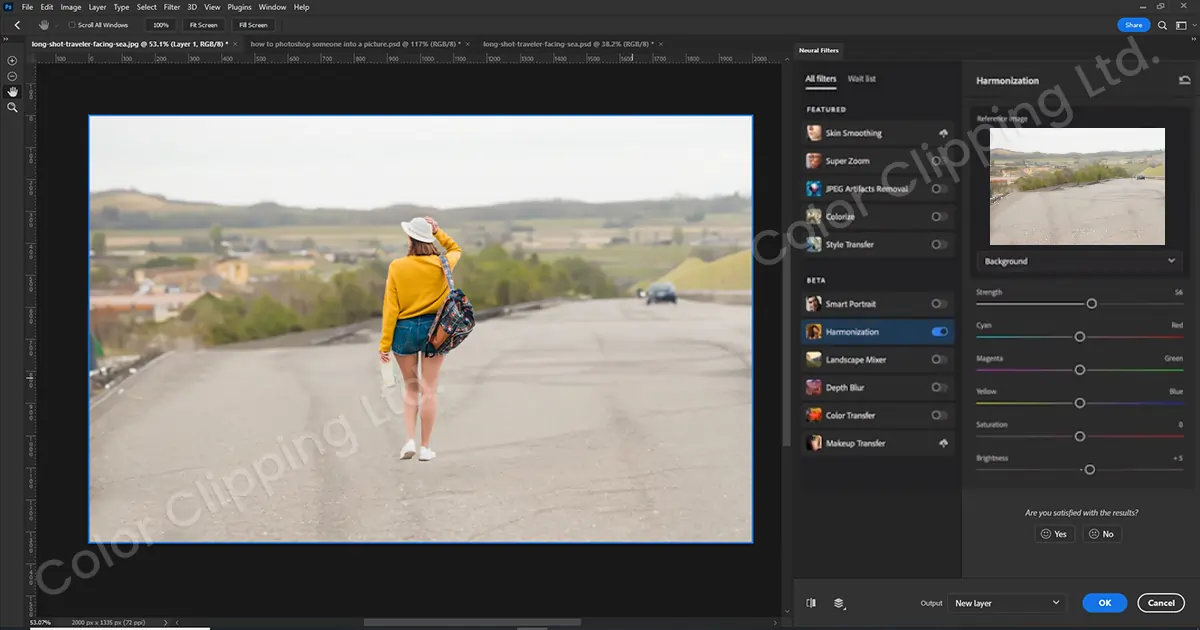
Now let’s match the colors. While the background image is still selected, select ‘Filter’ and then ‘Neural Filter’ or ‘Match Color’. Choose ‘Harmonization’. Then select a layer. Here choose the background. Then adjust the colors and strength till the point where the background and layer image looked like they belonged together. Once you are satisfied with your image click ‘ok’. Now, you can stop here, if you think your image doesn’t need any kind of shadow then it’s done. But, if you think they do need to, then…
Select layer 1 (The layer that has the person in it). Then choose fx from the right-down corner. Then select ‘Drop Shadow’. Now to make it more realistic, increase or decrease size. You can also adjust the distance and spread size. Select Effects from just below the layer section and right-click on that, then choose to ‘Create Layers’.
Now select the shadow layer, press Ctrl/Cmd + T and drag the shadow to the angle where the image would look much more realistic. Now, if you want to soften the shadow then go to the Filter> Blur> Gaussian Blur. (Basically, any blur that would work for your image. Move the radius bar until it’s perfect. Reduce the opacity a little bit until it kind of matches the scene.
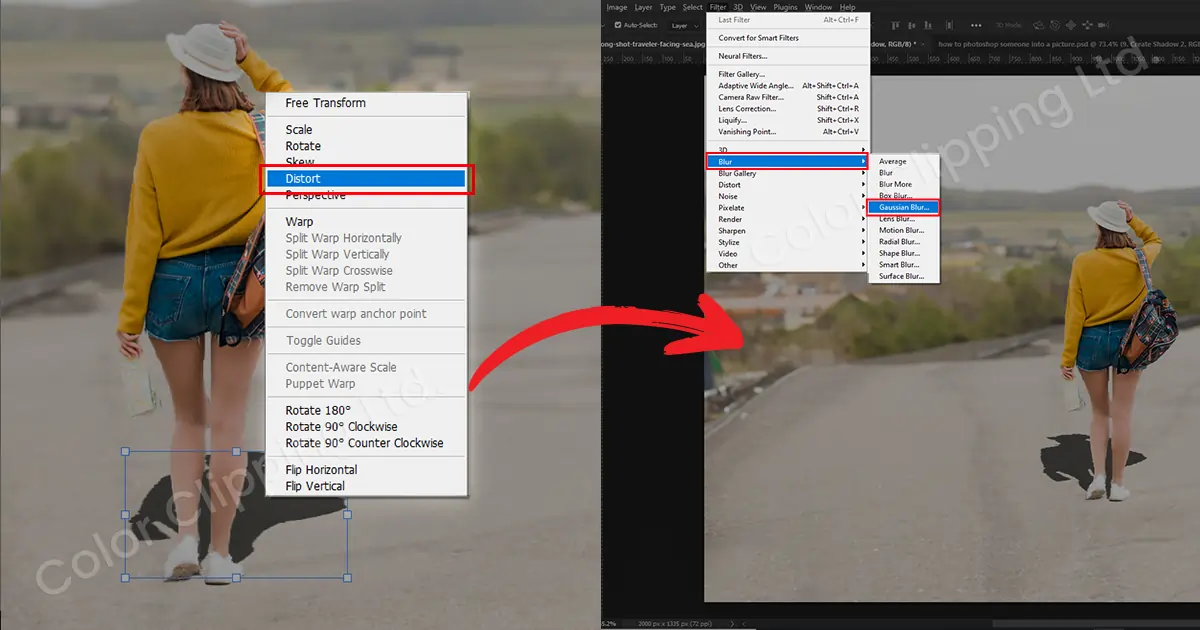
With ‘Distort’ option you can adjust and move the shadow according to the lights.
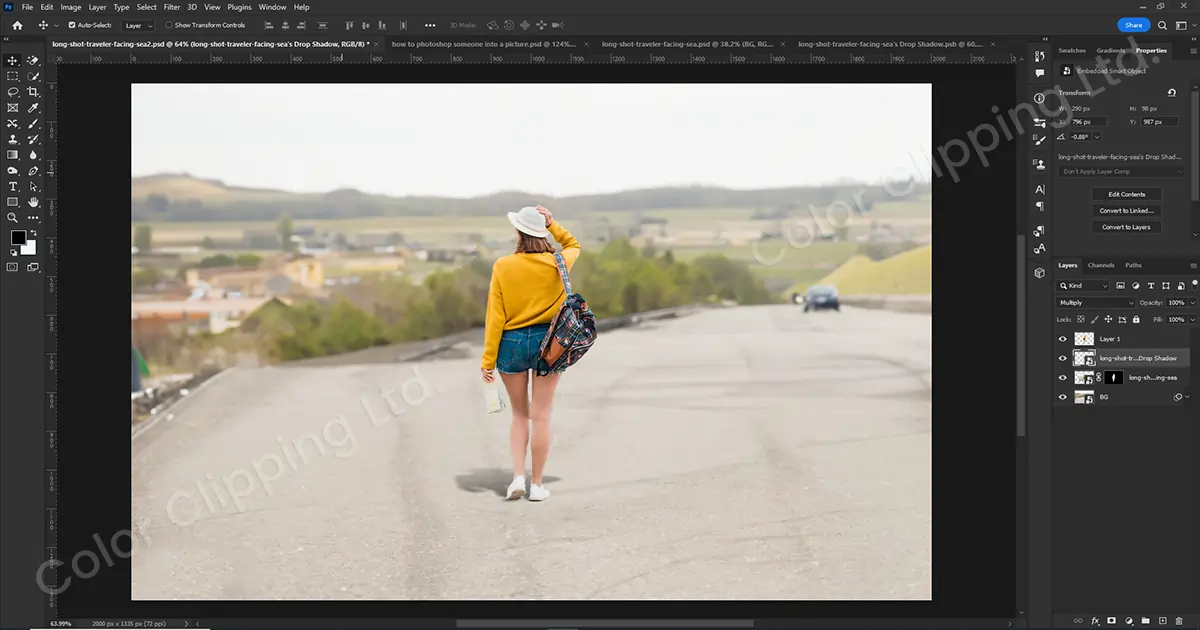
And there you go. That is how to photoshop someone into a photo.
This method is easy for any Adobe Photoshop user. But what if you don’t have Photoshop or any kind of editing software to help, but still want to know how to Photoshop a person into a picture or remove background or replace your background in a photo?
Don’t worry, you can still do so with the help of Color Clipping Ltd. We offer the best photo editing and retouching service that you can find. Providing many categories of editing and retouching services including background removal and background replacement services. Make your work easy and progressive with the photo editing services of Color Clipping.
Not only non-editors, you can also take these services even if you are a professional editor or professional photographer, who wants to enhance his/her work and compete in the marketplace. So, what are you waiting for? Grab the best deal and services to upgrade your work.
Deowan Shimul
Since 2010, Deowan Shimul has been refining the art of jewelry retouching, combining precision with advanced technology. In 2017, he expanded his expertise into commercial product photography and now leads a team of 120 professionals. Together, they produce high-quality visual solutions that help brands grow, streamline workflows, and achieve real results for clients worldwide.

Chief Production Officer