Photo Editing

Want to impress your real estate buyer? Editing real estate photos help enhance the appeal of a property, making it more attractive to potential buyers or renters. This How to Edit Real Estate Photos guide will help you to learn the deals for getting professional looking real estate photos. In real estate photo editing you need to consider Permanent fixture and the non-permanent fixture. A permanent fixture is the main part of the real estate image, means the property that is going to be displayed. The non-permanent fixture is any element in the display that is not up for sale or rent. For example, if you are showing a house with a car parked and you want to advertise the house only, then the house is the permanent fixture. The car is a non-permanent fixture. You can remove the car if it blocks the view of the house. But if there is a swimming pool, you can't remove it. You can make the grass green that gets changed with the weather but you can't replace the power lines for aesthetics as these are permanent fixtures.
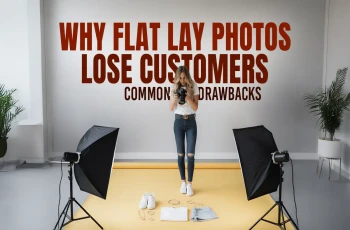
Showcasing property in an image can go wrong. Nobody wants to see a house that looks pale or too dark or cluttered with bushes. You need to attract with an aesthetic visual with color & brightness correction, removing unwanted elements in the image, correcting vertical settings, and many more. Here is How to Edit Real Estate Photos answered thoroughly.
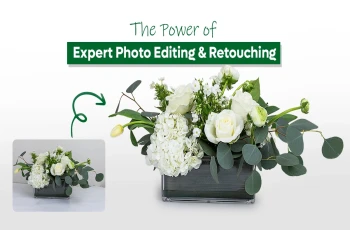
Real estate photographers and editors use manual blending popularly for a high-end and vibrant outcome.
Hand-blending images will make your photos look flawless and vibrant with an HDR finish. You can’t achieve that in other quick ways of real estate picture editing.
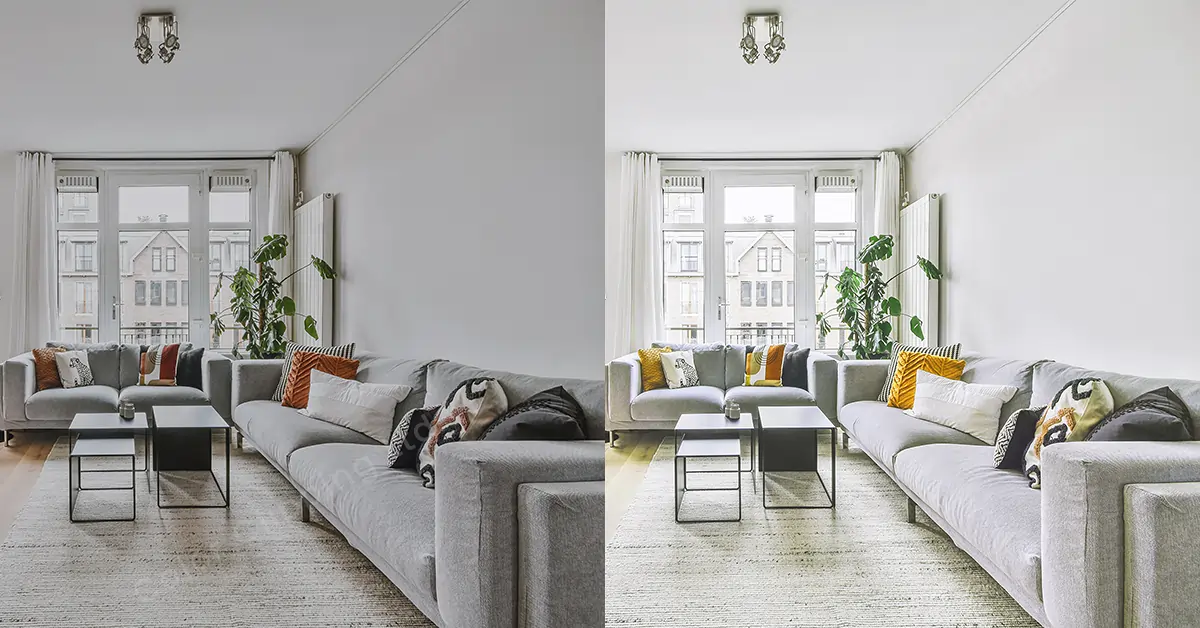
Color Correction is a vital part of any image editing. To master How to Edit Real Estate Photos you might work hard on color correction and removing color cast with sharp eyes. We will make the white look exactly white correcting the places where white look yellowish or reddish.
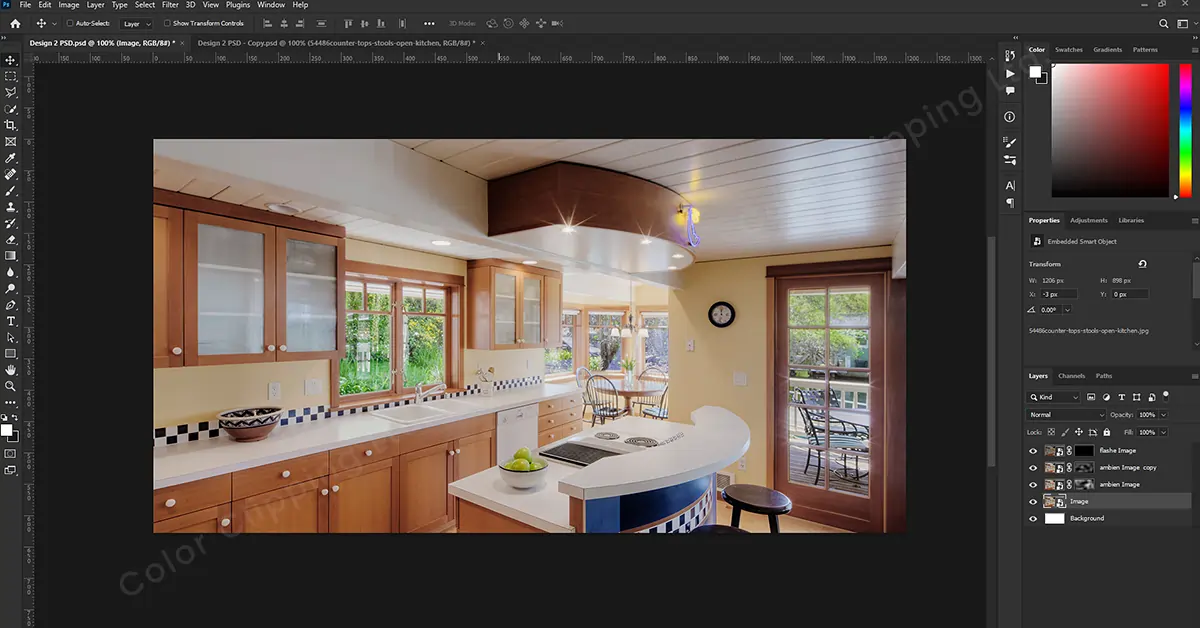
Command J and duplicate the layer you want to use for fixing a particular part. Work on the image < adjustment < hue/saturation adjust the color and bring it to a clean look. After getting the desaturation done add a layer mask for a clean color. Go to Option < layer mask < add layer mask.
Get all the parts of the particular color and mask them in for clean color. Hit the L for the lasso tool, make the selection, and concentrate on little details for perfection. Keep the color you are working on as the background color. Go to select and modify feather, feather this by 1 pixel, and command X to cut. Correct the other color if they are desaturated.
If the real estate image has things that are not a part of this property or harming the aesthetic of the view, remove the item from the image. Apart from this, there might be a piece of broken furniture in an indoor setting or any person who appeared in the shot. You can just remove those interruptions using the clone stamp tool.
Fine tuning is they to real estate photography editing but keeping it natural is equally important.

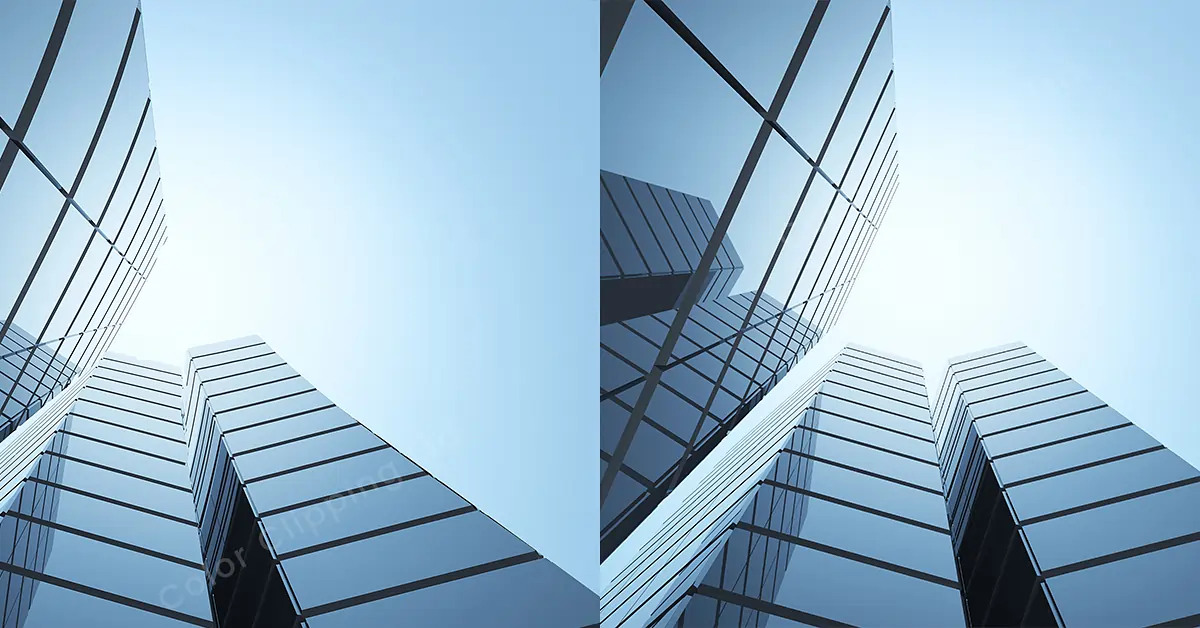
Perspective correction is another vital part of real estate photo editing. Misalignment of vertical and horizontal lines messes with the look of shape and size of the property. You need to fix this distortion and align the lines perfectly with the frame. In photoshop you can fix it using the Free Transform Tool.
In Lightroom, you can fix the lines and image distortion easily. Open the image in lightroom, click develop, and go to the lens correction panel, where you can let lightroom automatically detect the lens you used. For that enable the checkbox of profile correction. Then you can see the barrel distortion gets fixed and that happens only for RAW images.
If you think the auto function does not work finely, you can do it with your hands by clicking on Manual. To do it manually use the grid overlay. You have to increase it to push the curve inward and vice versa. Below the lens correction, you will see the Transform Panel where you can fix the vertical, and horizontal lines using the sliders. Let the white edges get cropped auto by using the Constrain Crop option
Noise or grain in photos can destroy the look of your property images. Make sure to do noise reduction in real estate photo processing. Those tiny dots that make the image hazy should be reduced for a clear photo. You can easily do noise reduction in photoshop or lightroom. For example, in photoshop, go to filter then choose noise and noise reduction.
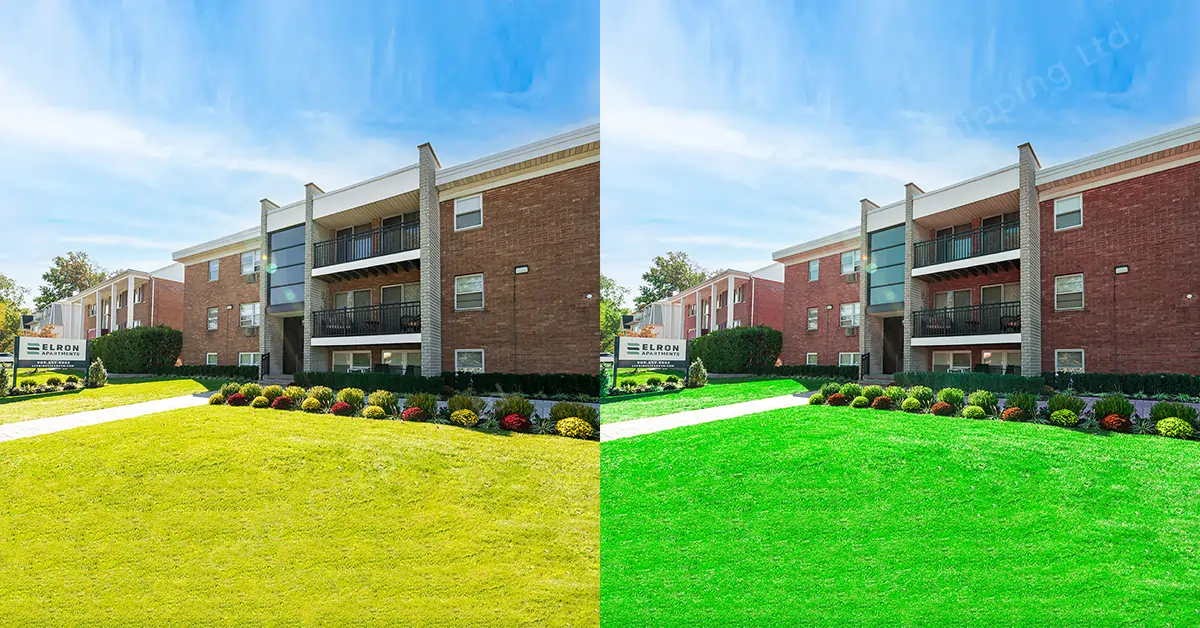
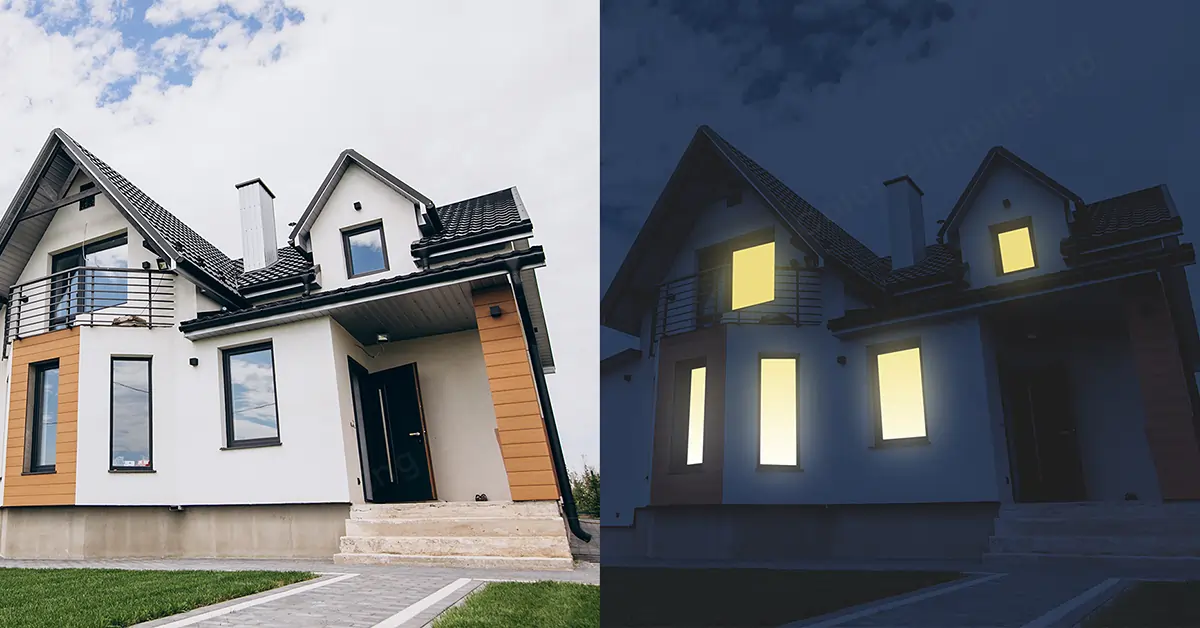
Make your real estate photos more attractive with sky replacement or doing other photo manipulations. A property with a nice view will bring a positive outlook to the photo. A gloomy sky will definitely make the photo look ‘not so cool’, but changing the into a sunny and vibrant one will make a jolly ambiance.
You can also change the lawn and color for a pleasant visual. But editing the background or overdoing the view is not allowed in real estate editing. The motto is to present the property in Its authentic quality so that the customer never feels betrayed by relying on the images.
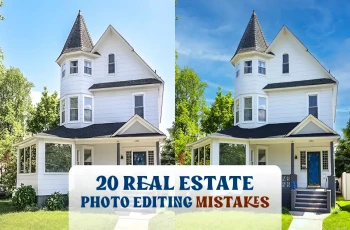
How to edit real estate photos is a tough question to answer. Because editing real estate photo needs high skill and a pure sense of attention to detail. It needs expertise in photo post-processing undoubtedly. But here I tried to make the real estate photo editing journey a bit easier. If you find it difficult to adapt, outsource real estate photo editing and get professional images without the hassle.

Hi, it's Faria, Content Executive from Color Clipping Ltd with a passion to contribute knowledge sharing more simply. Keep learning and growing with us.
Deowan Shimul
Since 2010, Deowan Shimul has been refining the art of jewelry retouching, combining precision with advanced technology. In 2017, he expanded his expertise into commercial product photography and now leads a team of 120 professionals. Together, they produce high-quality visual solutions that help brands grow, streamline workflows, and achieve real results for clients worldwide.

Chief Production Officer