Photo Editing

How to mask in Premiere Pro in the easiest way possible? Adobe Premiere Pro is another software of Adobe like Photoshop, Lightroom, and similar software. Instead of editing photos, you can edit videos in Adobe Premiere Pro. It is a versatile software. You can do almost any kind of editing that you want for your video with Adobe Premiere Pro. It allows you to go creative and make something new every time.
Just like you can mask a photo in different ways in Adobe Photoshop, there are different ways to mask a video in Adobe Premiere Pro.
My first video with Adobe Premiere Pro seemed to be the hardest and the most time-consuming. Not because the video was complex to edit, but because it was my first time using Adobe Premiere Pro. First time using Adobe Premiere Pro can be confusing a bit. But the output you will eventually have (if you follow the instructions properly) surely amazes you.
You can make little motions by masking in Premiere Pro. I can do text motions, animation cuts, and many more. Let’s not make it super big. Keeping it simple, today I’m going to talk about how you can do Text animation Masks in Premiere Pro and Walking Cut Screen Animation in Premiere Pro using masking techniques. So, let’s jump in.
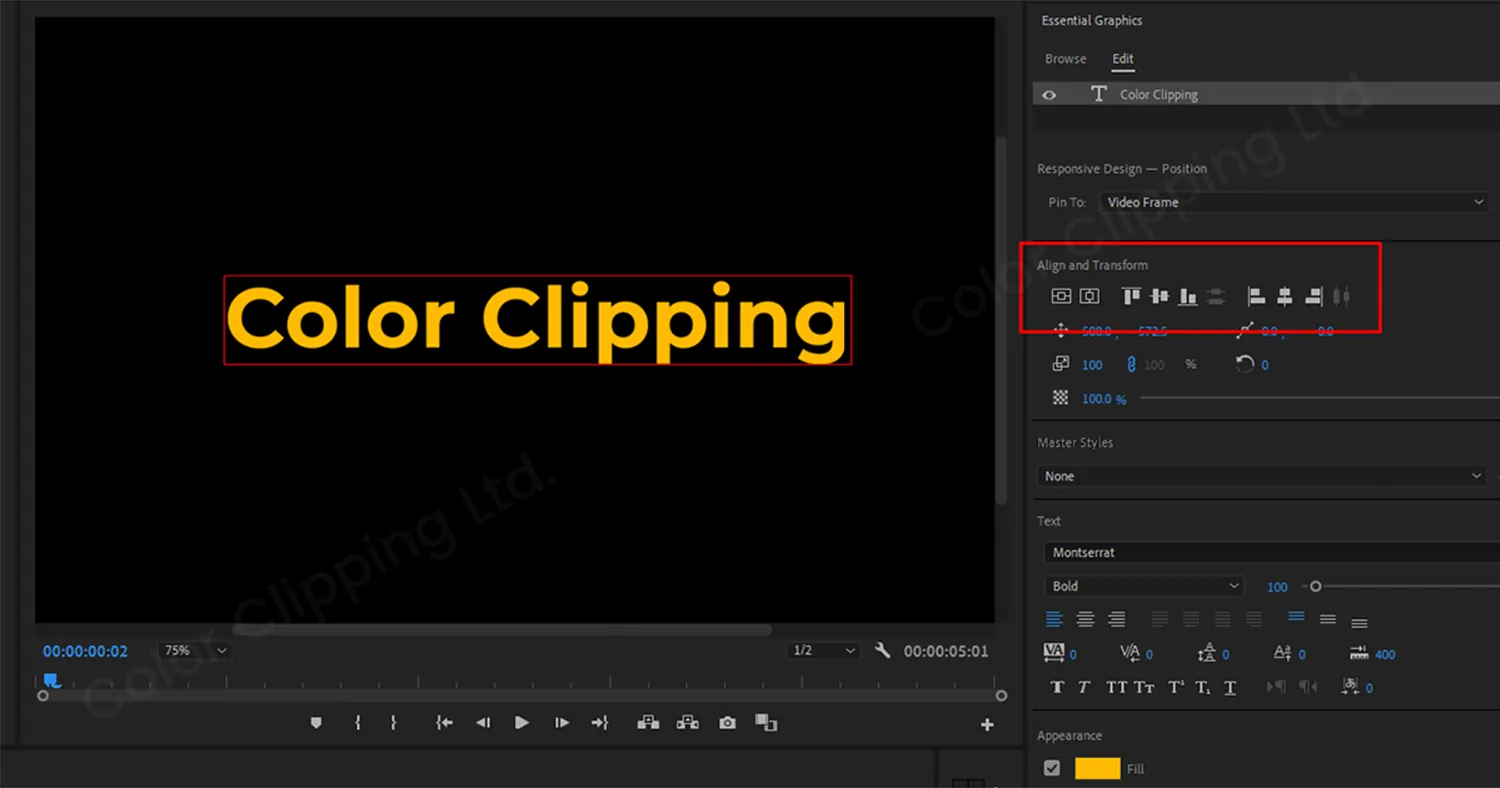
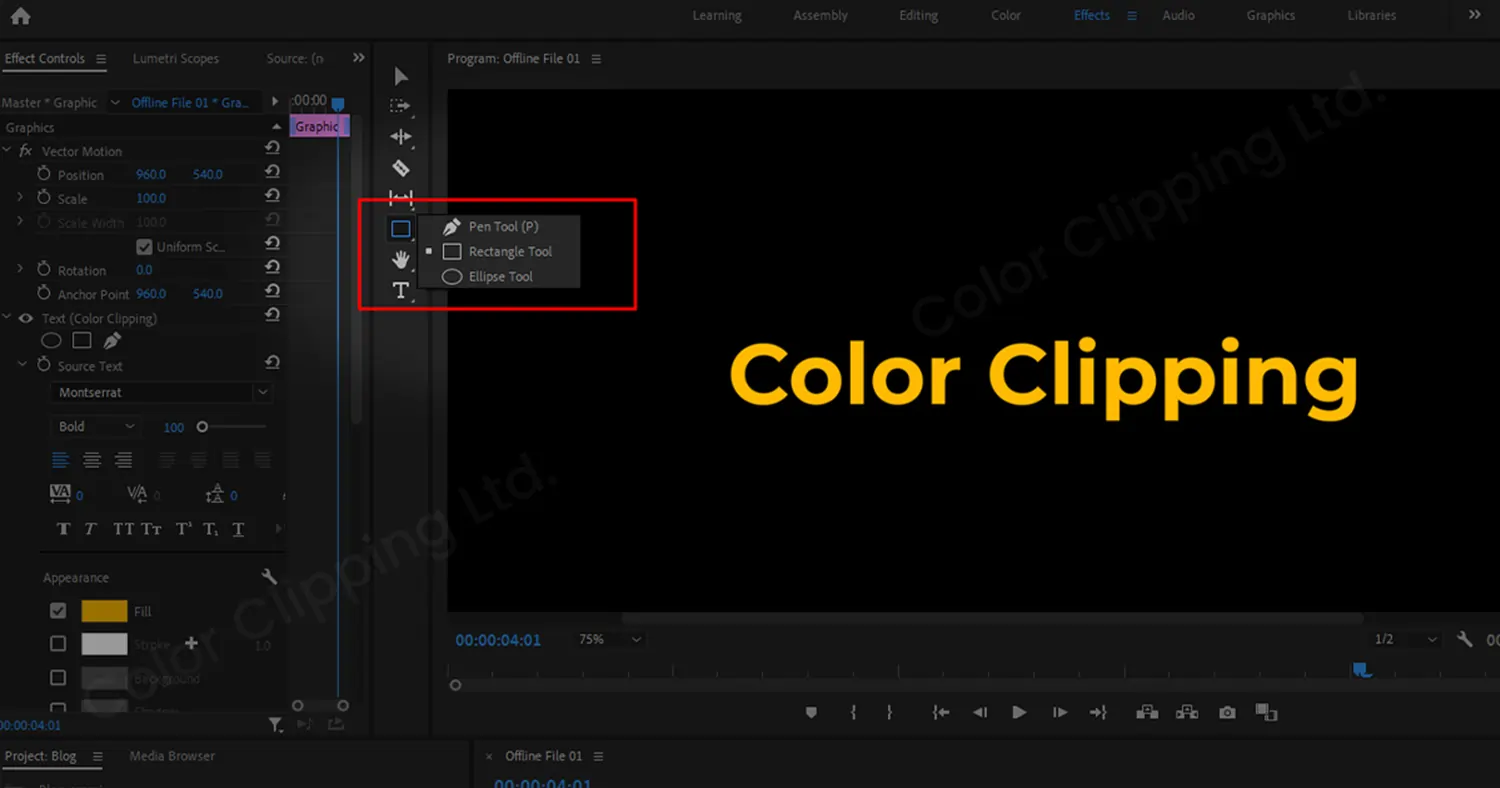
What is text animation? When you have a text moving in a video or gif or any format, that is text motion. For text motion, you can use any software. Let’s see how you can do text motion in Adobe Premiere Pro using masking techniques.
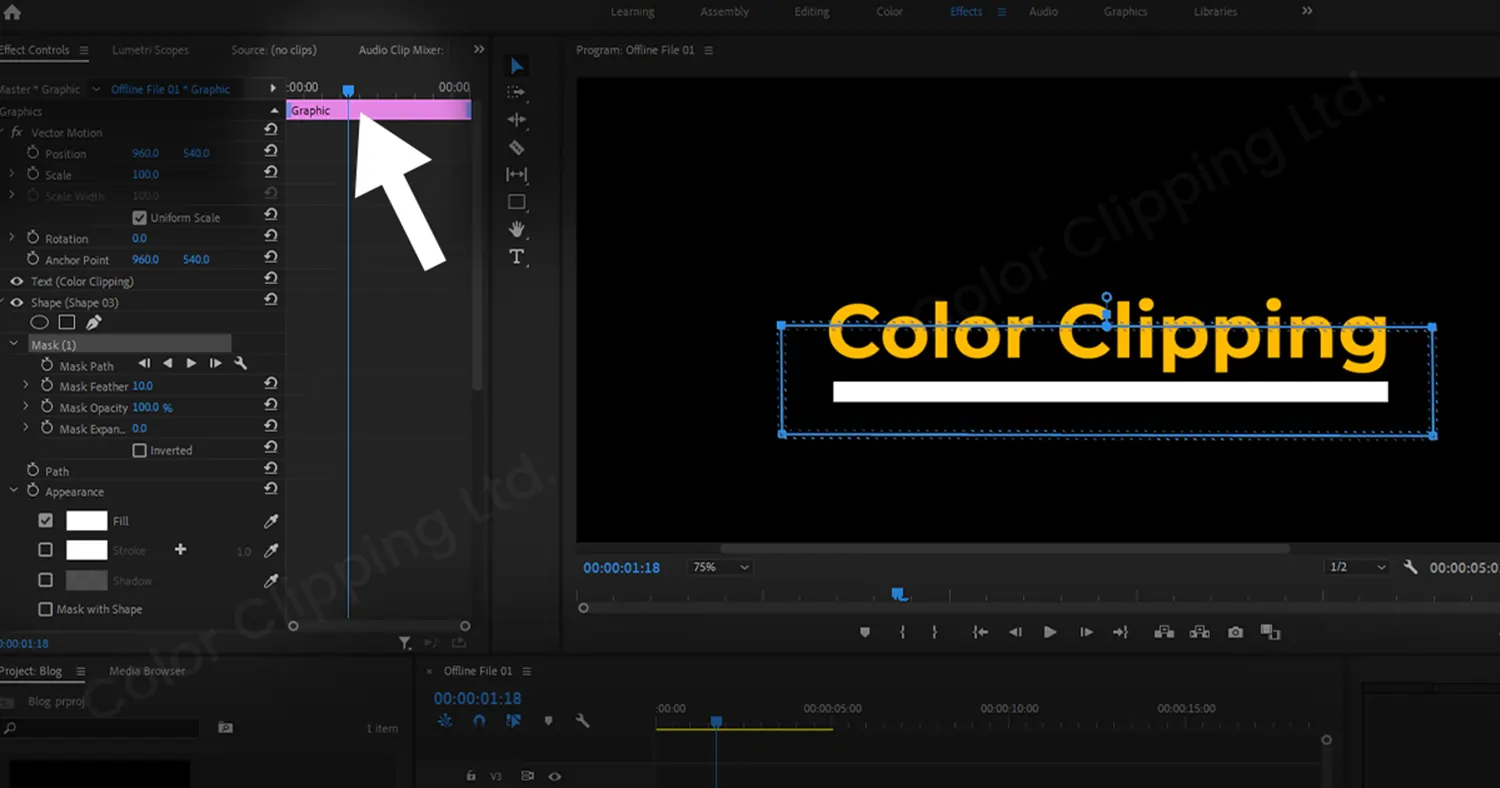
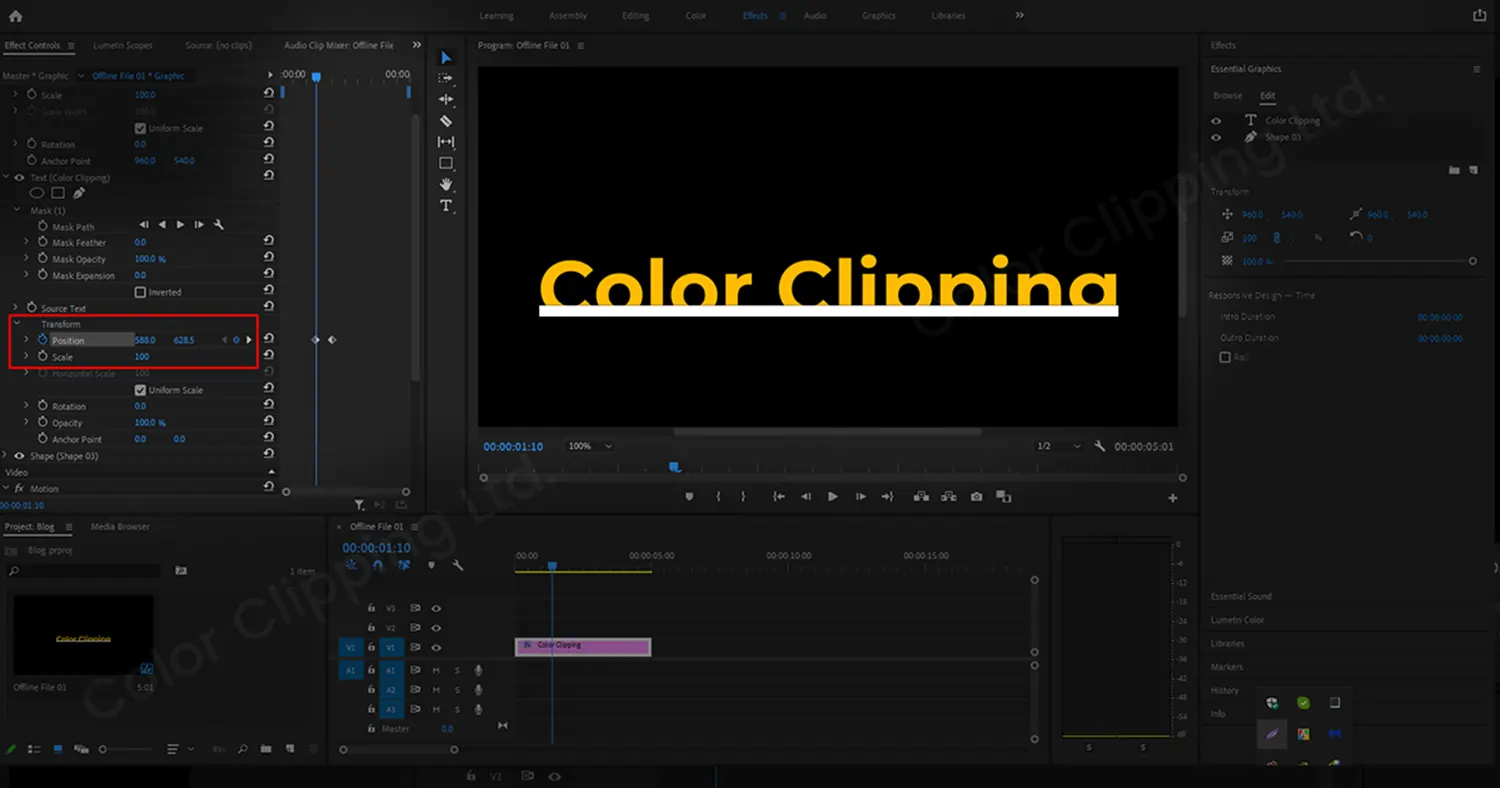
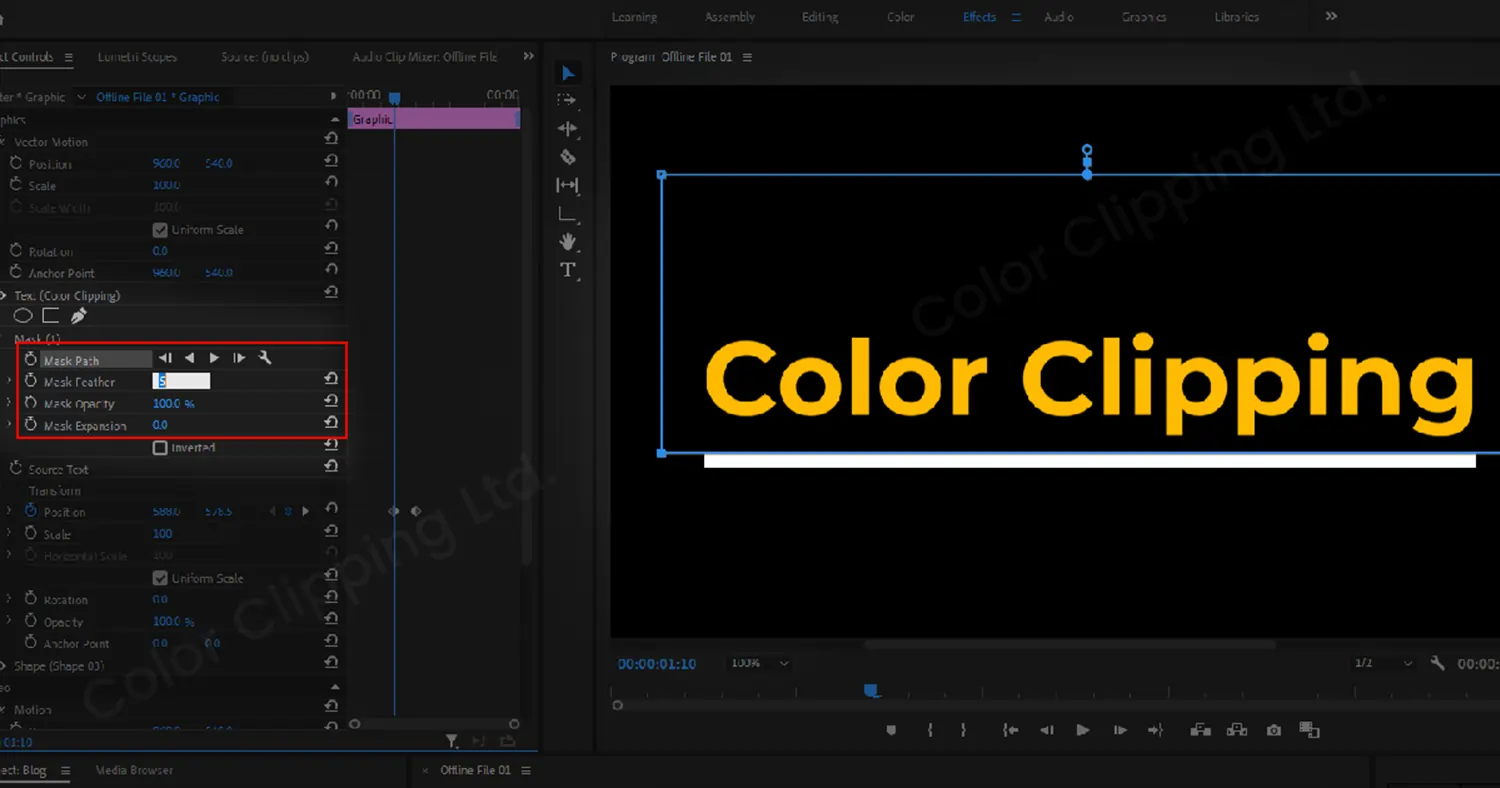
And there you have a smooth text animation by mask technique.
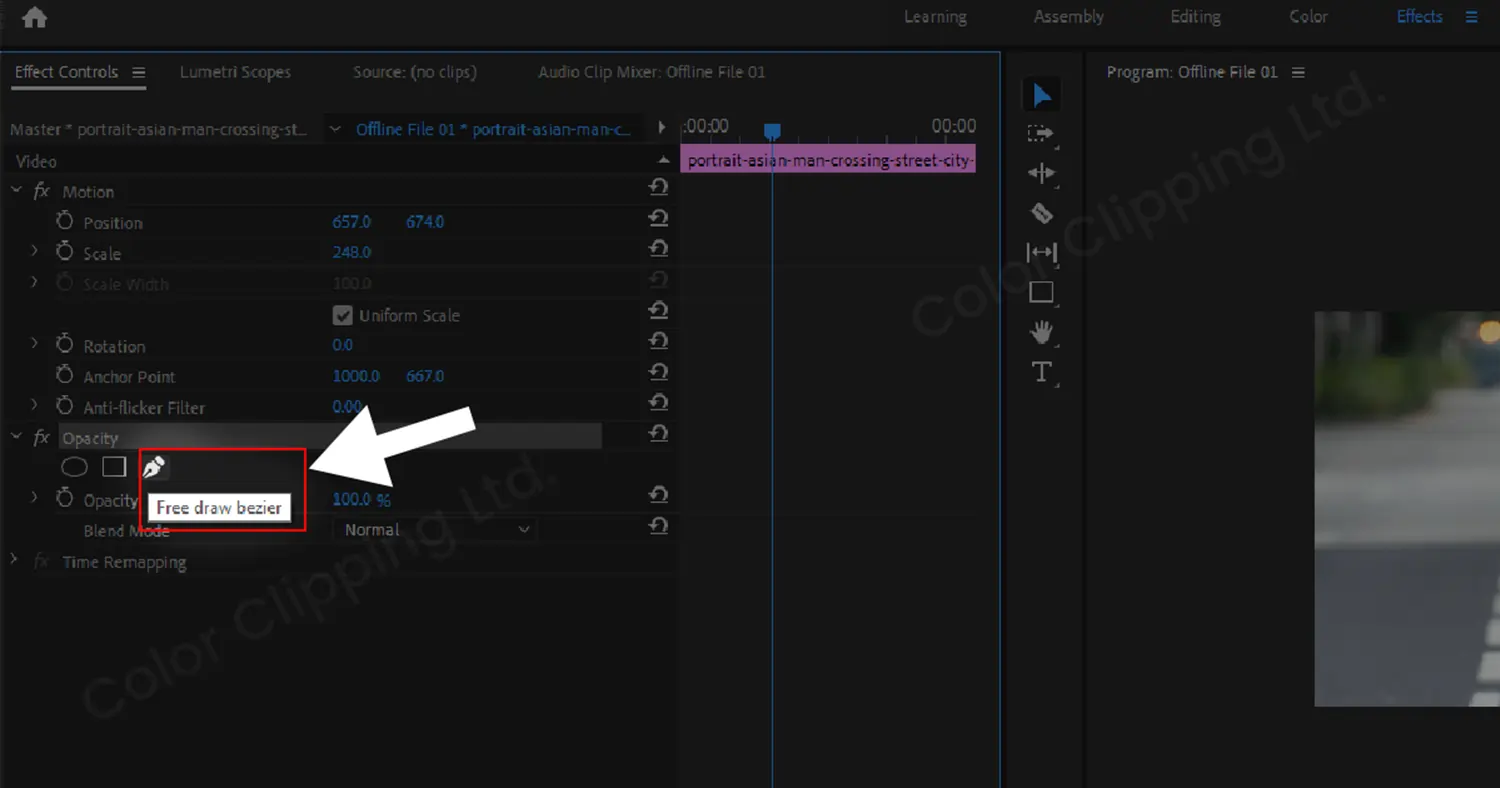
You might see some cool transactions in movies where usually a new scene is started with someone passing through the whole screen and the scene. Somebody walks in front of your video covering the whole screen from top to bottom. Don’t throw it in the bin. Just make it a transaction to another scene. Aren't those types of scenes the best? Let’s learn to do that.
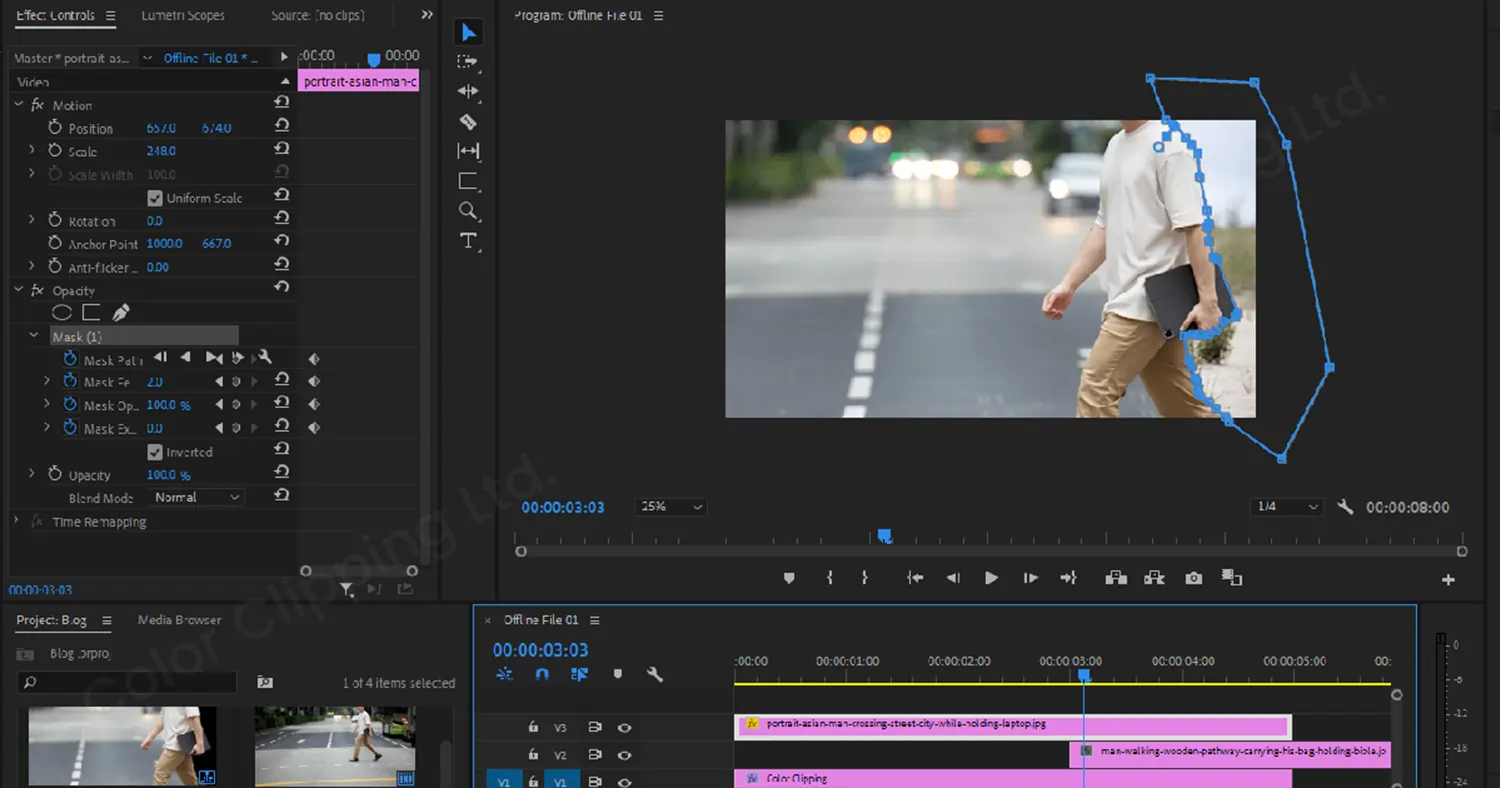
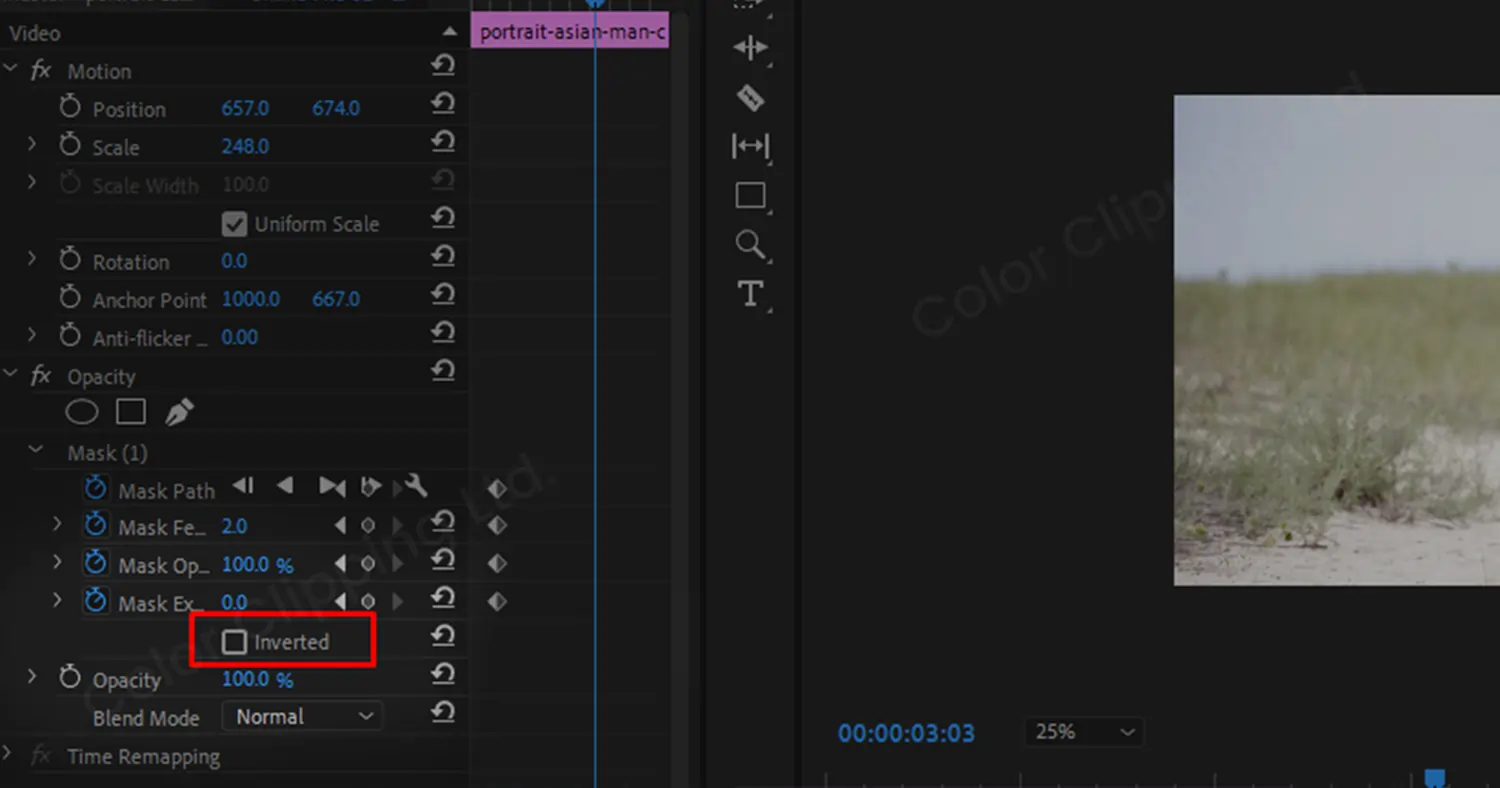
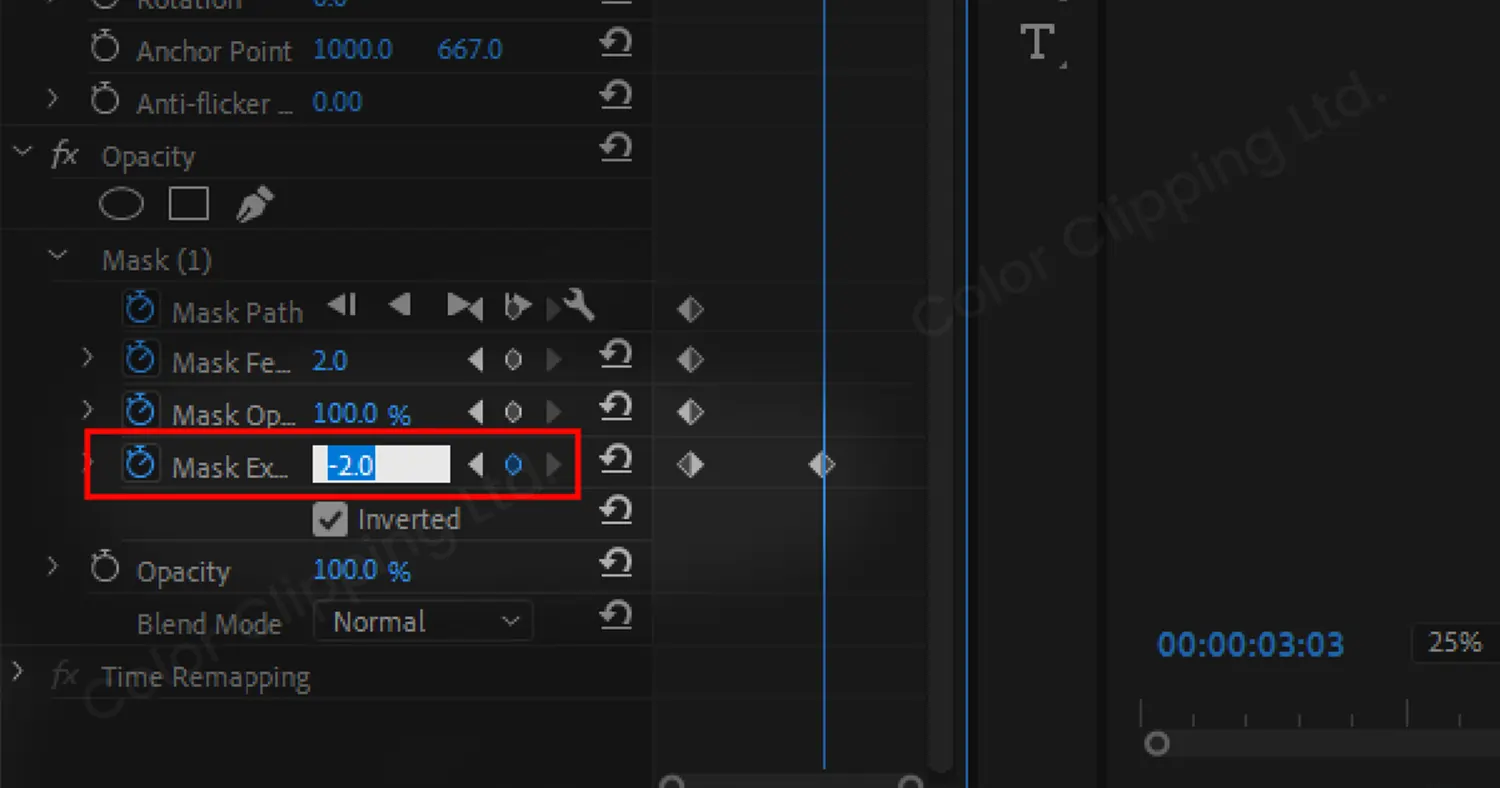
And there you go. Walking cut screen animation with the help of masking. There are many more uses of this masking technique. You can unlock a lot of techniques and methods using masking. We will talk about more techniques in future tutorials.
Videos simplify the complex ideas and make them easy to understand. It's easy to spoon-feed your audience and clients with a video. An image can hold facts but a video can connect with emotions deeply. Even you will see advertisements on television that can stick in your brain and a simple poster on a billboard will not be able to have an impact on your brain for a long time. In short, videos grab the attention more than anything.
Not only that, videos contain a company’s reputation. A company's professionalism and image are built upon its videos. So, it’s simply very important. And nowadays, social media’s algorithm catches videos more than posts or anything else.
If you are also someone looking to grow your business with video editing. Then Color Clipping is just for you. Raw videos are okay. But not professional enough to boost your business. To make it more presentable you have to edit your videos. Color Clipping always ensures the quality first. So do try our video editing service to trust our service.

Hello, it's Anika, Content Executive from Color Clipping Ltd with a devotion to contributing my skills and knowledge more simply. Keep learning and growing with us.
Deowan Shimul
Since 2010, Deowan Shimul has been refining the art of jewelry retouching, combining precision with advanced technology. In 2017, he expanded his expertise into commercial product photography and now leads a team of 120 professionals. Together, they produce high-quality visual solutions that help brands grow, streamline workflows, and achieve real results for clients worldwide.

Chief Production Officer